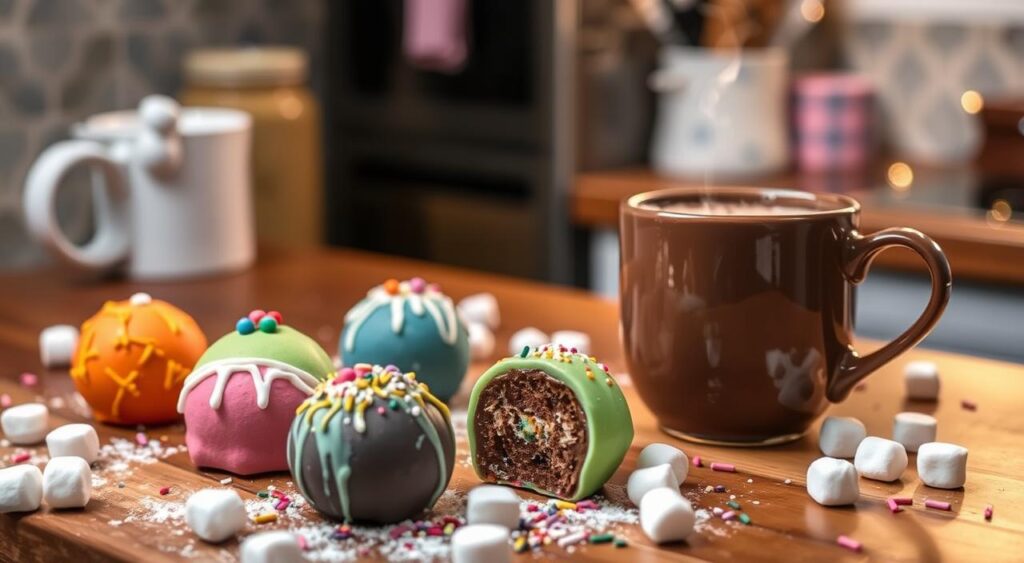
Winter brings crisp air, and nothing warms us like a rich cup of hot chocolate. But imagine turning this into a magical experience. Hot chocolate bombs are chocolate spheres that melt in hot milk, revealing a treasure of flavors. They’re perfect for a cozy treat or a special gift.
This guide will show you how to make these chocolate wonders. You’ll learn about the basic ingredients and how to customize them. From choosing the right chocolate to adding fun toppings, we’ll cover it all. So, get ready to make your own hot chocolate bombs!
What Are Hot Chocolate Bombs

Hot chocolate bombs have become a hit online, attracting both chocolatiers and home cooks. These fun chocolate balls are filled with hot cocoa mix and tiny marshmallows. When you pour hot milk over them, the chocolate melts, revealing the treats inside.
This turns a simple hot chocolate into a special treat.
The Magic Behind Chocolate Spheres
Hot chocolate bombs are loved for their looks and fun factor. They are made with care, turning any hot drink into a showstopper. When hot milk is added, the chocolate melts, showing off the treats inside.
This makes the drink rich and creamy.
Why They’re Trending
The popularity of hot cocoa bombs has grown fast. The hashtag #hotchocolatebombs has been used over 181 million times on TikTok. Videos showing how to make them have gone viral, drawing in viewers from all over.
People love the interactive fun and the chance to get creative with them.
Basic Components of Hot Chocolate Bombs
A chocolate bomb recipe needs a few key things. You need good chocolate, hot cocoa mix, and tiny marshmallows. These ingredients come together to make a cozy and tasty hot chocolate.
You can also add things like flavored syrups or sprinkles to make it even better.
Essential Tools and Equipment

Making tasty hot chocolate bombs at home needs a few key tools. First, you need a good chocolate bomb mold. These molds, made of silicone or acrylic, help create the round shape of hot chocolate bombs. They are about 2.75 inches (67mm) in diameter.
You also need a food thermometer for tempering chocolate right. A paintbrush helps spread the melted chocolate in the mold. And, a piping bag is great for filling and sealing the bombs. A bench scraper is useful for removing extra chocolate from acrylic molds.
Other tools include parchment paper for your work area, a microwave-safe bowl or double boiler for melting chocolate, and gloves to avoid fingerprints on your hot chocolate bomb creations.
With these tools and a little practice, you’ll get better at making hot chocolate bombs. Soon, you’ll be making delicious treats in your own kitchen.
Choosing the Right Chocolate for Your Bombs
Choosing the right chocolate is key when making hot chocolate bombs. Look for high-quality chocolate with lots of cocoa butter. This will give your bombs a smooth, shiny look and the right texture.
Consider using semi-sweet, milk, or white chocolate. These types work great. But, avoid candy melts or chocolate chips. They won’t give you the rich taste you’re looking for.
Understanding Chocolate Tempering
Tempering your chocolate is a must for hot chocolate bombs. It involves heating the chocolate just right to get a shiny look and a nice snap. You can use the microwave or a double boiler to temper it.
When done right, the chocolate will look glossy and sound satisfying when you bite into it.
Quality Considerations
For top-notch results, go for couverture chocolate. It’s a high-end chocolate loved by pros. It has more cocoa butter, making it silky and with a deeper chocolate taste.
This chocolate is perfect for hot chocolate bombs. It offers a luxurious and fulfilling experience.
“The key to making perfect hot chocolate bombs is using the right chocolate and properly tempering the chocolate. This ensures a shiny, snappable shell that melts beautifully in hot milk.”
Hot Chocolate Bombs Ingredients Guide
Making hot chocolate bombs at home is easy with the right ingredients. Start with high-quality chocolate for the glossy shell. Then, use a premium homemade hot cocoa mix or your favorite store-bought mix. Don’t forget soft, pillowy mini marshmallows for the filling.
To add a special touch, drizzle with chocolate syrup or sprinkle crushed candy canes. Colorful sprinkles or decorative toppings can also make your hot chocolate bombs look festive. The right ingredients make for a delicious and beautiful hot chocolate experience.
“The secret to making the perfect hot chocolate bomb lies in the chocolate you choose and how you temper it.”
For the hot cocoa mix, you can use a pre-made blend or make your own. Mix cocoa powder, sugar, and a pinch of salt for a homemade version. Using whole milk makes the hot chocolate extra creamy. The rich chocolate shell and smooth cocoa will delight your taste buds.
With the right ingredients and creativity, you can make hot chocolate bombs that look great and taste amazing. They’re perfect for a cozy night in or as a thoughtful gift. These treats are sure to make your loved ones happy.
Working with Chocolate Molds
Choosing the right mold is key to making tasty hot chocolate bombs. Silicone and acrylic molds have their own perks. Knowing the differences helps pick the best mold for your chocolate creations.
Silicone vs. Acrylic Molds
Silicone molds are popular for hot chocolate bombs. They are flexible and easy to use. You can find them on Amazon and they are safe for food, heat, and freezing.
Acrylic molds give a shiny finish but need more prep. They require warming up before use and tapping to remove air bubbles.
Proper Mold Preparation
Getting your mold ready is crucial for a smooth finish. For silicone, paint thin, even layers of chocolate. This ensures a uniform thickness.
With acrylic molds, warm them up first. Pour in the chocolate and gently tap to remove air. Clean and polish the molds for a professional look.
“The recommended size for hot chocolate bomb molds is spheres with a 2.75-inch (67mm) diameter, which is ideal for standard-sized mugs and fitting various fillings.”
Step-by-Step Assembly Process
Making hot chocolate bombs at home is fun and rewarding. You’ll melt and temper chocolate, fill molds, and decorate the final product. Keeping the chocolate at 90°F is key for the best results.
Begin by chopping chocolate into small pieces. Melt it in the microwave in 30-second intervals until it’s almost melted. Stir until it’s smooth and at the right temperature.
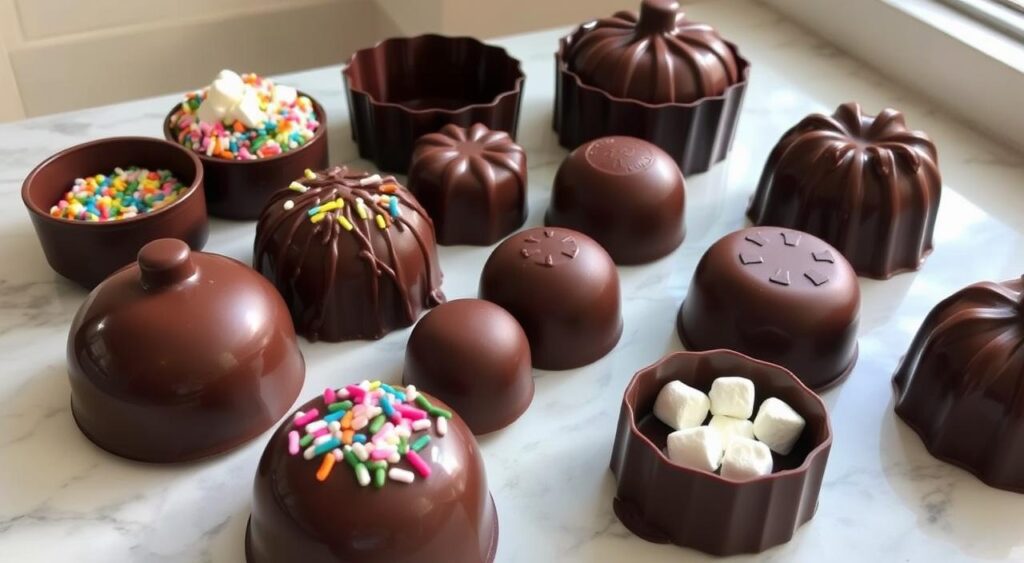
Then, coat molds with tempered chocolate using a piping bag or spoon. Fill each half-sphere with hot cocoa mix and marshmallows. Seal the halves with melted chocolate.
Let the bombs set before removing them from molds. This step is important for a solid chocolate shell. After setting, decorate with sprinkles, candies, or gold paint for a festive look.
With practice and care, you can make perfect hot chocolate bombs at home. They’re great for yourself or as gifts for others.
Creative Filling Ideas and Combinations
Unleash your inner mixologist and explore the endless possibilities of hot chocolate bomb flavors. Start with the classic hot cocoa mix. Then, let your imagination soar. Add a touch of whimsy with flavored marshmallows, crushed candy canes, or mini chocolate chips.
For an adult twist, stir in instant coffee for a mocha-inspired delight. Or add a splash of liqueur like Baileys Irish Cream.
Classic Hot Cocoa Mix Options
Homemade hot cocoa mixes are a fantastic way to customize the creative hot cocoa bombs you create. Experiment with different cocoa powder blends. Try rich dark chocolate to smooth milk chocolate.
Incorporate spices like cinnamon, nutmeg, or chili powder for a unique flavor profile.
Marshmallow and Topping Variations
Elevate your hot chocolate bombs by playing with marshmallow flavors and toppings. Opt for gourmet marshmallows in seasonal or specialty varieties. Try peppermint, salted caramel, or even s’mores.
Sprinkle crushed cookies, chopped nuts, or a dusting of cocoa powder. This adds texture and visual appeal.
The beauty of hot chocolate bomb flavors lies in their versatility. Whether you prefer classic comforts or crave more adventurous tastes, the possibilities are endless. Embrace your creativity and craft creative hot cocoa bombs that will delight family and friends alike.
Decorating Techniques and Design Ideas
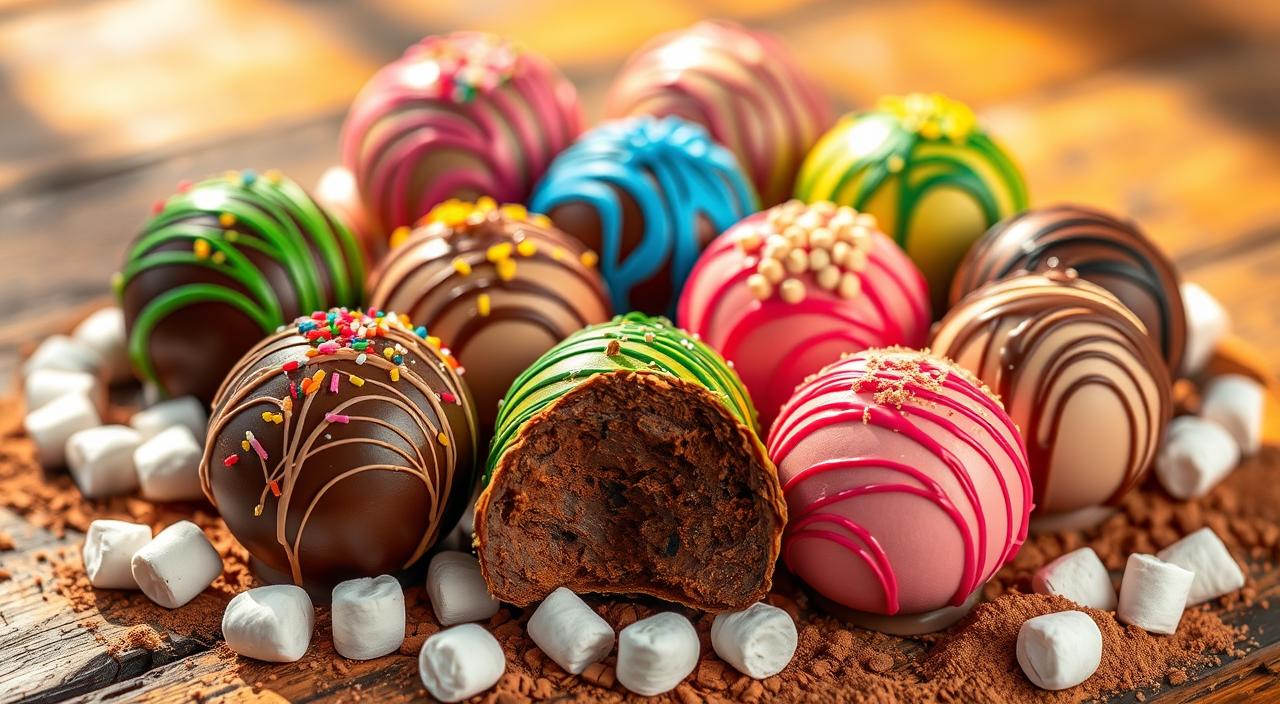
Make your homemade hot chocolate bombs stand out with various decorating techniques. Let your creativity shine and turn these chocolate balls into eye-catching treats. You can use contrasting chocolate drizzles or vibrant sprinkles to decorate them.
Start by playing with different chocolate colors. Use colored white chocolate or food-safe paints for a bright look. Add personal touches with piped messages or designs in melted chocolate. This way, you can make each bomb unique with special designs or holiday themes.
Add a metallic touch with edible luster dust or sparkling sugar. This will make the bombs sparkle and look more elegant. You can also sprinkle colorful sprinkles, crushed candy canes, or a bit of cocoa powder for extra flair.
Get creative with themed designs for holidays or special events. Make spooky Halloween bombs, festive Christmas spheres, or whimsical Valentine’s Day treats. Decorating hot chocolate bombs is all about showing off your artistic side and having fun.
Storage and Shelf Life Tips
Keeping your hot chocolate bombs fresh is key to enjoying them fully. Proper storage helps keep their quality and taste intact.
For storing hot chocolate bombs, use an airtight container in a cool, dark spot or the fridge. Place them in parchment paper or cupcake liners to avoid sticking. If you store them in the fridge, let them warm up before serving to avoid moisture.
With the right storage, your chocolate bomb shelf life can be longer. They can last weeks to months, depending on the ingredients and how you assemble them.
“Grinch Hot Chocolate Bombs can be stored in an airtight container at room temperature, lasting up to two weeks when stored properly.”
To store them longer, freeze your hot chocolate bombs. They can stay good for up to two months in the freezer. Thaw them in the fridge overnight for the best hot chocolate experience.
By following these tips, you can enjoy your homemade hot chocolate bombs for weeks. They’re a great treat for any season.
Packaging and Gift-Giving Ideas
Make your homemade hot chocolate bombs special with creative packaging and gift ideas. They’re perfect for the holidays or any time of the year. Choose from clear cellophane bags to personalized mason jars to show off your tasty creations.
Presentation Suggestions
Use clear cellophane bags or small gift boxes for a simple yet elegant look. This lets your customers see the hot chocolate bombs while keeping them safe. Add a festive ribbon or tag to finish it off. Personalized mason jars also make great gifts, adding a cozy touch.
Holiday Themed Variations
Create holiday-themed hot chocolate bombs for a special touch. For Christmas, try peppermint bombs in festive tins or gift baskets with ribbons. Pumpkin spice bombs in burlap pouches are perfect for fall. Tailor your packaging to match the holiday for a memorable gift.
FAQ
What are hot chocolate bombs?
Hot chocolate bombs are special treats. They are made of a chocolate shell filled with hot cocoa mix and marshmallows. When you pour hot milk over them, they melt, making a delicious, creamy hot chocolate.
What are the basic components of hot chocolate bombs?
Hot chocolate bombs have a few key parts. You need a chocolate shell, hot cocoa mix, and marshmallows. You can also add different flavors and decorations to make them unique.
What tools and equipment are needed to make hot chocolate bombs?
To make hot chocolate bombs, you’ll need a few tools. You’ll need silicone or acrylic sphere molds, a food thermometer, and a paintbrush for applying chocolate. You’ll also need piping bags and a bench scraper for acrylic molds.
Other useful items include parchment paper, a microwave-safe bowl or double boiler for melting chocolate, and gloves to prevent fingerprints.
What type of chocolate is best for hot chocolate bombs?
The best chocolate for hot chocolate bombs is high-quality. Look for chocolate with cocoa butter, like semi-sweet, milk, or white chocolate. Avoid candy melts or chocolate chips. Tempering the chocolate is key for a shiny finish and the right texture.
What are the key ingredients for hot chocolate bombs?
The main ingredients are high-quality chocolate, hot cocoa mix, and mini marshmallows. You can also add flavored syrups, sprinkles, or crushed candy for extra flavor.
What are the differences between silicone and acrylic molds?
Silicone molds are easier to use and more forgiving. Acrylic molds, on the other hand, give a shinier finish. It’s important to clean and polish molds well for a smooth chocolate sphere.
How do you assemble hot chocolate bombs?
To assemble hot chocolate bombs, start by melting and tempering chocolate. Then, apply it to molds. Fill half-spheres with cocoa mix and marshmallows, and seal the halves together with tempered chocolate.
Decorate them as you like. Use tempered chocolate at 90°F for the best results.
What are some creative filling and flavor ideas for hot chocolate bombs?
You can try different hot cocoa mixes, even homemade ones. Add variety with flavored marshmallows, crushed candy, or mini chocolate chips. For an adult twist, add instant coffee or liqueurs.
How do you decorate hot chocolate bombs?
Decorate bombs with contrasting chocolate drizzles, colorful sprinkles, or edible glitter. You can make themed designs for holidays or special occasions. Use food-safe paints or luster dust for metallic effects.
How should hot chocolate bombs be stored?
Store hot chocolate bombs in an airtight container in a cool, dark place or in the refrigerator. Use parchment paper or cupcake liners to prevent sticking. They can last several weeks to a few months when stored properly.
How can hot chocolate bombs be packaged and gifted?
Package hot chocolate bombs in clear cellophane bags, small gift boxes, or mason jars. Include instructions for use. Create holiday-themed variations and consider adding a mug and a small whisk for a complete gift set.
