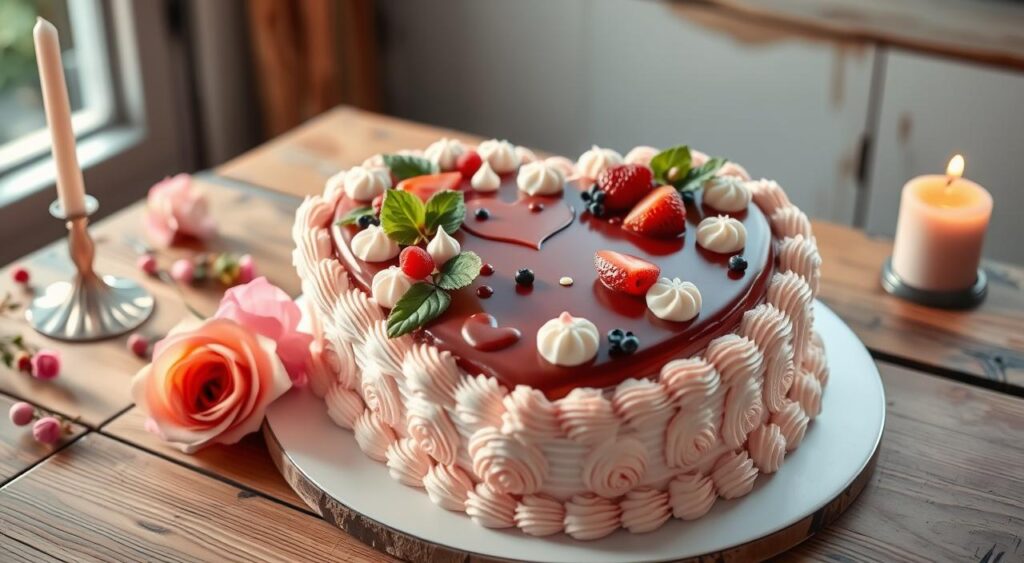
Looking into your loved one’s eyes, a heart-shaped cake’s soft pink colors fill the room with warmth. Making a delicious, beautiful heart cake is a great way to celebrate special moments. This could be Valentine’s Day, an anniversary, or just a time to appreciate each other.
In this guide, we’ll show you how to make a heart cake. It will not only taste amazing but also touch your heart. Let’s start this journey together.
Baking is a labor of love, turning simple ingredients into a masterpiece. With the right tools and techniques, you can make a heart cake that shows off your skills and love. Let’s explore the world of heart-shaped cakes, where every slice is a symbol of love and a memorable moment.
Essential Tools and Ingredients for Your Heart Cake

To bake the perfect heart-shaped dessert, you need some basic tools and ingredients. Get your supplies ready to make a sweet treat that will wow your loved ones.
Baking Equipment Checklist
First, make sure you have the right baking tools. You’ll need 8-inch round cake pans, a serrated knife for leveling, and a cake board or stand. Also, a turntable helps with smooth frosting application. You’ll also need an icing smoother, angled spatula, and piping bags with tips like the Wilton 4B, 32, 102, and 3 for decorating.
Key Ingredients and Substitutions
For the cake, you’ll need flour, baking powder, salt, eggs, sugar, extracts, milk, oil, and butter. For a gluten-free option, use a gluten-free flour blend instead of all-purpose flour. The frosting needs cream cheese, butter, powdered sugar, and food coloring for the right color.
Frosting Components
Creating a stunning buttercream frosting is crucial for your heart cake. Mix cream cheese, butter, and powdered sugar until smooth. Add gel-based food coloring for your desired color, like pink or red for Valentine’s Day. With the right frosting supplies, you’ll make a heart-shaped cake that’s both tasty and beautiful.
Creating the Perfect Cake Base

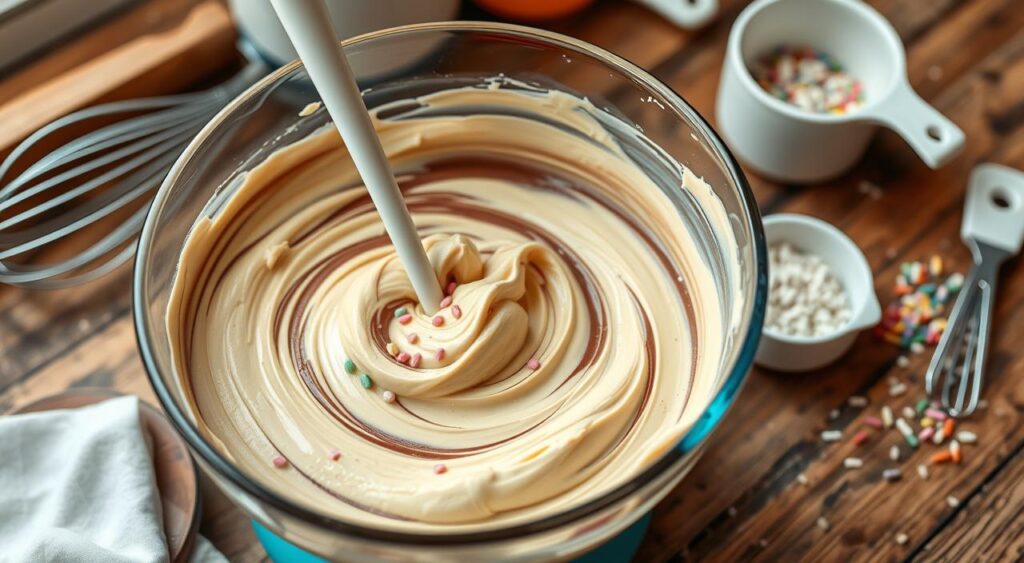
Making the perfect cake base is key for your delicious Heart Cake. It’s inspired by King Arthur Flour’s birthday cake recipe. This version aims to make the cake even better in texture and sweetness.
Scalding the milk is crucial. It makes the cake’s structure and rise better, even with gluten-free flours.
The recipe uses less sugar than usual but still keeps it sweet. You can add lemon, vanilla, almond, or coconut extracts for different flavors.
For baking, the temperature is important. Bake at 335°F for a fluffy cake. Or, use a cake mix for a quicker option. You can also try heart-shaped brownies or cookies for a twist.
“The cake base is the heart of the cake, so it’s essential to get it just right.”
With a great cake base, you’re ready to make a stunning Heart Cake. It will surely wow your loved ones on any special day.
Heart Cake Shaping Technique
Making a heart-shaped cake is a bit tricky, but with the right steps, you can make a stunning dessert. The secret is in shaping the cake layers into the perfect heart shape.
Step-by-Step Cutting Guide
Begin with two 8-inch round cakes. Use a serrated knife to cut each layer in half diagonally. This will give you the pointed top of the heart. Place the first layer’s cut edge against the second layer to get perfect symmetry.
Assembly Instructions
First, place a sturdy cardboard base on the bottom for stability. Then, stack the cake layers together, using a lot of buttercream to hold them in place. This will form the heart shape. After that, cover the cake with a thin layer of frosting to highlight the heart’s shape.
If you want a more traditional heart look, carve a “v” shape at the top. Chill the cake before adding the final layer of frosting.
Troubleshooting Common Shaping Issues
Getting a smooth heart shape can be hard, but there are ways to fix it. Make sure your cake layers are even and the edges are straight before cutting. Use a sharp knife and press gently to avoid uneven edges.
If your heart shape isn’t clear, you can trim or carve it to make it more defined.
Mastering the Buttercream Frosting
Decorating your heart-shaped cake with buttercream frosting is key to a professional look. The right frosting consistency is essential for detailed cake decorating designs. With a few tips, you can make perfect buttercream for your dessert.
Begin with a medium-consistency buttercream recipe. This texture is perfect for piping patterns and borders. The recipe makes about 9 cups of frosting, enough for an 8-inch heart-shaped cake. Having extra frosting is always a good idea to avoid running out.
“The key to a perfect buttercream is striking the right balance between sweetness and texture. Our recipe uses just the right amount of powdered sugar to create a silky-smooth consistency that’s not overly cloying.”
To color your frosting, use gel food coloring. A mix of AmeriColor Deep Pink and Fuchsia gives beautiful pink shades. Divide the frosting into three bowls and tint each differently. This way, you can create stunning designs with smooth gradients and varied colors.
With the right buttercream recipe and frosting consistency, you’re on your way to a stunning cake decorating masterpiece. Take your time and enjoy the process. The final result will be amazing!
Vintage Piping Decorations
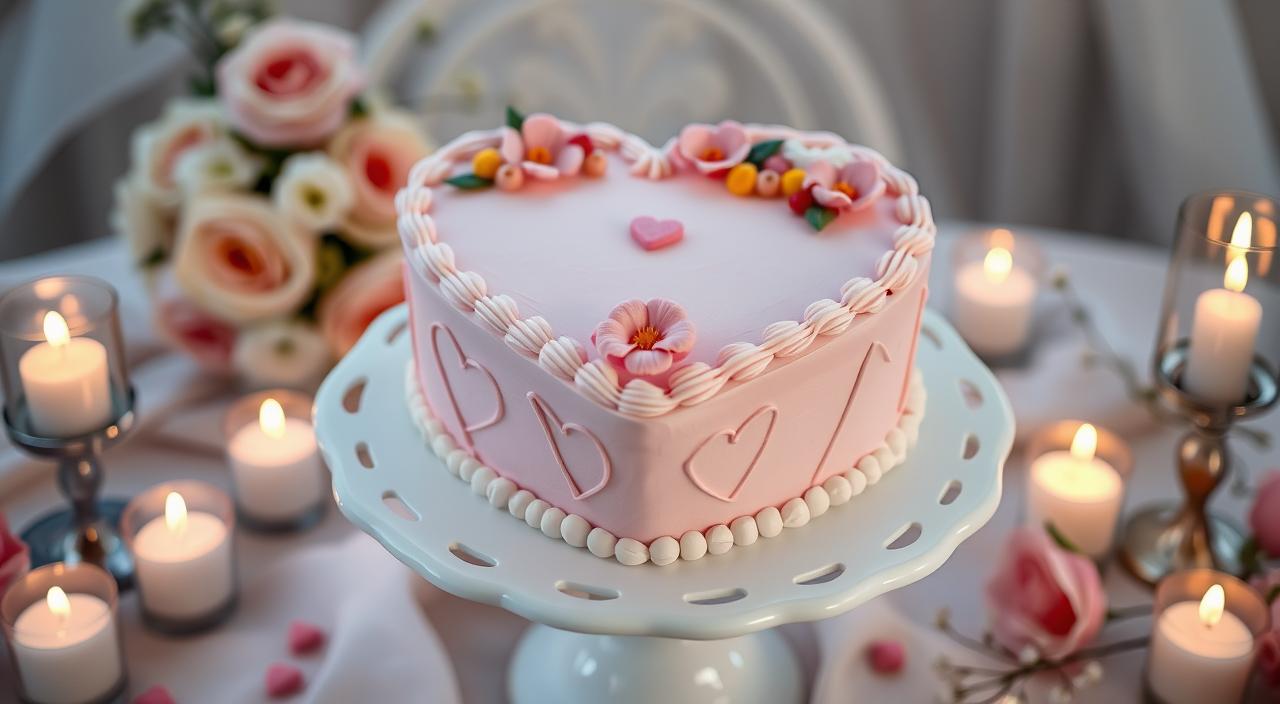
Elevate your vintage cake design with timeless piping techniques and intricate buttercream decorations. Embrace the elegance of the bygone era. Transform a simple cake into a true showstopper.
Essential Piping Tips and Techniques
Mastering the art of piping is key to achieving the perfect vintage aesthetic. Start by familiarizing yourself with various piping tips. Use the Wilton 4B for large shell borders and the Wilton 32 for small ones. The Wilton 102 is great for delicate ruffles.
Practice these techniques on a flat surface before applying them to your cake. This will give you the best results.
Creating Shell Borders and Ruffles
To create a stunning shell border, use the Wilton 4B tip. Pipe a large scalloped pattern along the top and bottom edges of your cake. Then, use the Wilton 32 tip for a smaller shell border, nesting it within the larger shells.
For a captivating touch, add a double ruffle garland to the sides of your cake. Use the Wilton 102 tip for this. Connect the ruffles with simple piped hearts, also using the Wilton 32 tip.
With a little practice and patience, you’ll master these timeless piping techniques. Create a vintage cake design that will impress everyone. Remember, the key to success is in the details. So, take your time and enjoy the process.
Creative Design Variations
Make your heart-shaped cake special with many design options. Use fresh strawberries or raspberries for sweetness and color. Try freeze-dried raspberry powder in your frosting for flavor and color.
For fun, write “LOVE” or draw heart patterns with nonpareils. Change the colors, messages, or decorations for birthdays, baby showers, or weddings. Embrace your creativity and bring your cake design ideas to life.
“Themed decorations are a great way to make your heart cake truly one-of-a-kind and memorable for any special occasion.”
Choose from buttercream or fondant for a unique look. Let your creativity shine with a wide range of cake design ideas.
Transform your heart cake into a vibrant, personalized cake or an elegant, themed dessert. Let your imagination run wild. Create a dessert that’s not just tasty but also captures the event’s spirit.
Storage and Make-Ahead Tips
Baking a heart-shaped cake for a special occasion is a delightful treat. It’s key to know how to store and prepare it in advance. Here are some tips to keep your heart cake fresh and flavorful.
One great thing about heart cakes is that you can bake the layers up to 3 months ahead. This lets you start your dessert early. Just wrap the cooled layers in plastic wrap or use an airtight container for freezing. When you’re ready, thaw them at room temperature for 30 minutes before you frost.
Chilled cake layers are easier to work with, as they don’t crumble as much. If you frost the cake a day before, you can freeze it with a crumb coat for up to a week. This keeps the cake moist and prevents it from drying out.
For the best taste, let the cake sit at room temperature for 30 minutes before serving. This ensures it’s at the perfect texture and temperature.
Special Occasion Customization
Make your celebrations special with custom cakes. They can reflect any occasion, from holidays to personal messages. The choices are endless for a unique cake.
Holiday-Specific Designs
Change your cake for different holidays with colors and decorations. For Christmas, use red and green with holly designs. Spring can be celebrated with pastel colors and flowers.
Personalization Options
Make your cake personal with messages and designs. Add song lyrics or Valentine’s Day phrases. Use Wilton Tip 3 for easy piping and practice on parchment first.
Message Writing Techniques
Make your messages look good on the cake. You might need to fix them for the best look. With practice, your cakes will have beautiful messages.
“The cake offers five color options for customization and requires three business days’ notice for baking and decoration.”
Conclusion
This vintage heart cake tutorial has given you a detailed guide to making a beautiful dessert for special times. You’ve learned how to make the cake base, the buttercream frosting, and how to decorate it. Now, you can make a heart-shaped cake that will wow your loved ones.
Baking this cake is perfect for Valentine’s Day, an anniversary, or any romantic event. It can be a special dessert that shows the love and care you put into it. You can make it your own by changing the flavors, design, and adding personal touches.
As you get better at making heart cakes, they will not only look amazing but also show off your baking skills. Enjoy the process, have fun, and let your heart-shaped creations be the stars of your next event. Happy baking!
FAQ
What type of cake base is used for this heart-shaped cake?
The cake base is a fluffy lemon or vanilla cake. It can be made with all-purpose or gluten-free flour. You can also try different flavors like lime or almond extract.
How is the heart shape achieved without a specialty pan?
To get the heart shape, use two 8″ round pans. Cut the second layer using the first layer as a guide. This trick avoids the need for a special heart-shaped pan.
What type of frosting is used for this heart cake?
The cake is frosted with a pink buttercream frosting. It’s made from cream cheese, butter, and powdered sugar. You can decorate it with various Wilton tips for a vintage look.
Can this cake be made in advance?
Yes, you can make the cake layers ahead of time. Store them at room temperature for 2 days or refrigerate for up to 3 days. If you assemble the cake, you can freeze it for a week. The leftover frosting can also be frozen for later.
How can the heart cake design be customized for different occasions?
Customize the cake for any occasion by changing the colors and messages. Use Wilton Tip 3 to write personal messages. Add themed decorations to make it special for birthdays, baby showers, or weddings.
