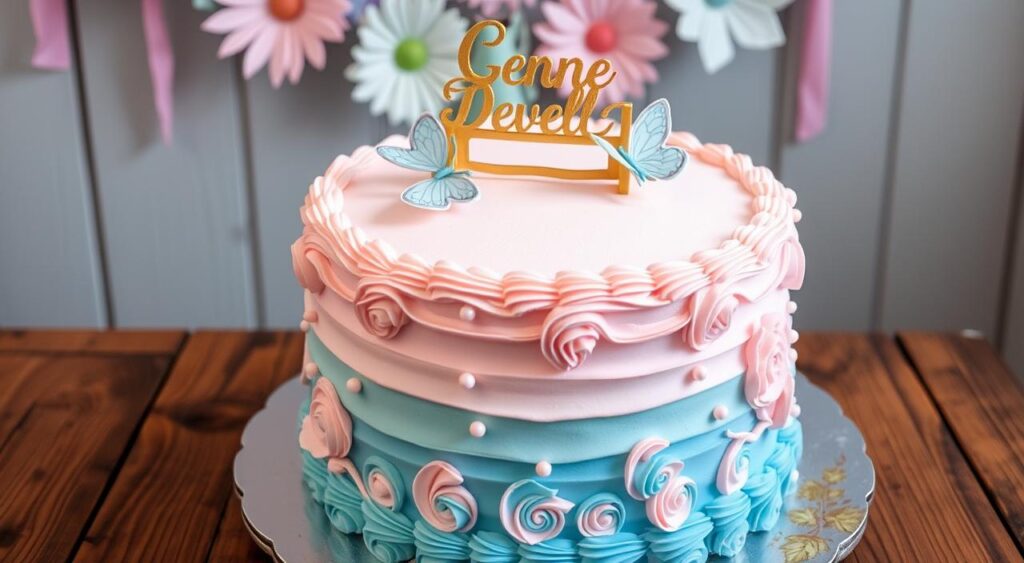
The excitement is building as everyone eagerly awaits to know your baby’s gender. What’s better than a special cake to share this moment? Try this gender reveal cake recipe and watch the joy unfold as pink or blue reveals the big surprise!
Making a gender reveal cake is more than just a recipe. It’s about adding love and joy to every step. This guide will help you make a cake that will wow your guests, no matter your baking skills.
Get ready to make your dream gender reveal cake come true. Let’s explore the world of gender reveal cakes. Your cake will be as memorable as the moment you share it with your loved ones.
Understanding the Magic of Gender Reveal Cakes

Gender reveal cakes have become very popular. They are a fun way for parents-to-be to share the news of their baby’s gender. These cakes make the moment special and personal, especially when made at home.
The Growing Popularity of Gender Reveal Celebrations
More and more families are celebrating gender reveals. They add fun themes and activities to make the moment even more special. With 53 unique white gender reveal cake ideas, there’s a design for every family.
Why Homemade Gender Reveal Cakes Are Special
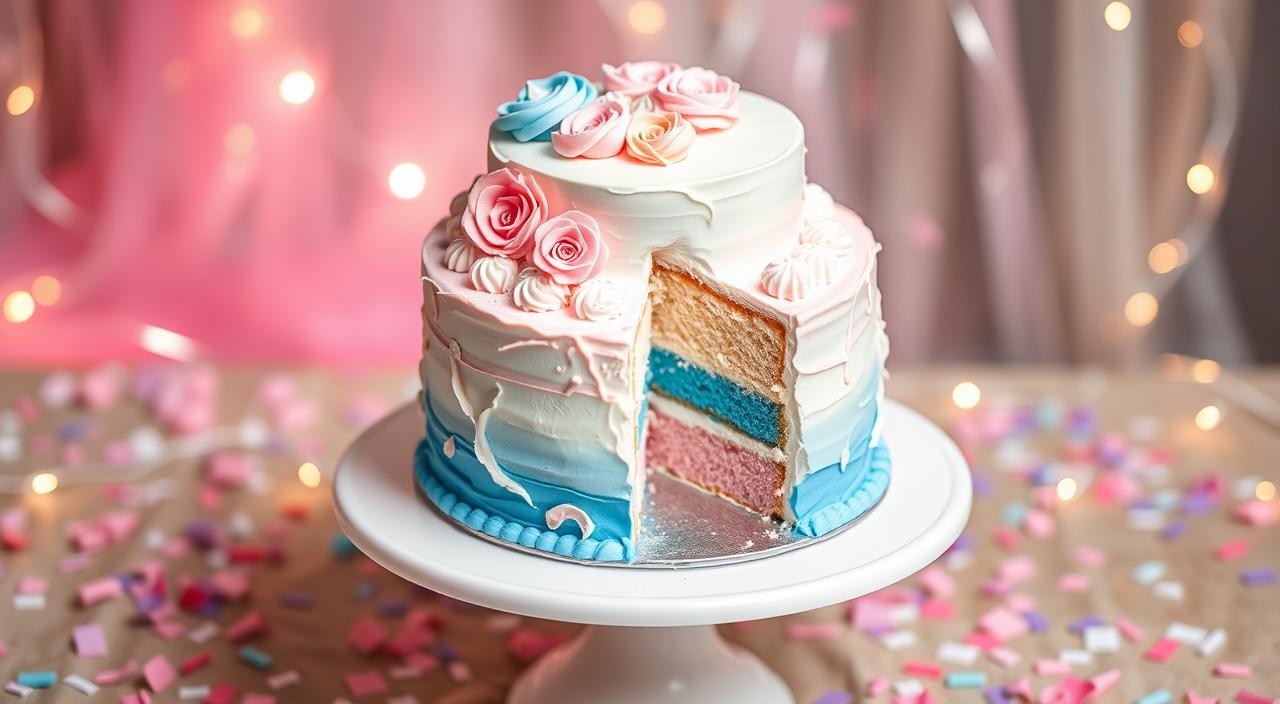
Making a gender reveal cake at home is a fun activity. White cakes are perfect because they don’t give away the gender. When you cut into it, you find out if it’s pink or blue, making it a memorable moment.
“The blood test can determine the gender of the baby as early as 10 weeks.”
Waiting to see the color inside the surprise inside gender cake is exciting. It brings everyone together. Homemade cakes let families add their own special touches, making the announcement truly unique.
Essential Ingredients and Equipment for Your Gender Reveal Cake

To make the perfect gender reveal cake, start by getting the right ingredients and tools. The recipe makes a cake that serves 16 big slices. It has 6 layers of Super White Cake that taste amazing.
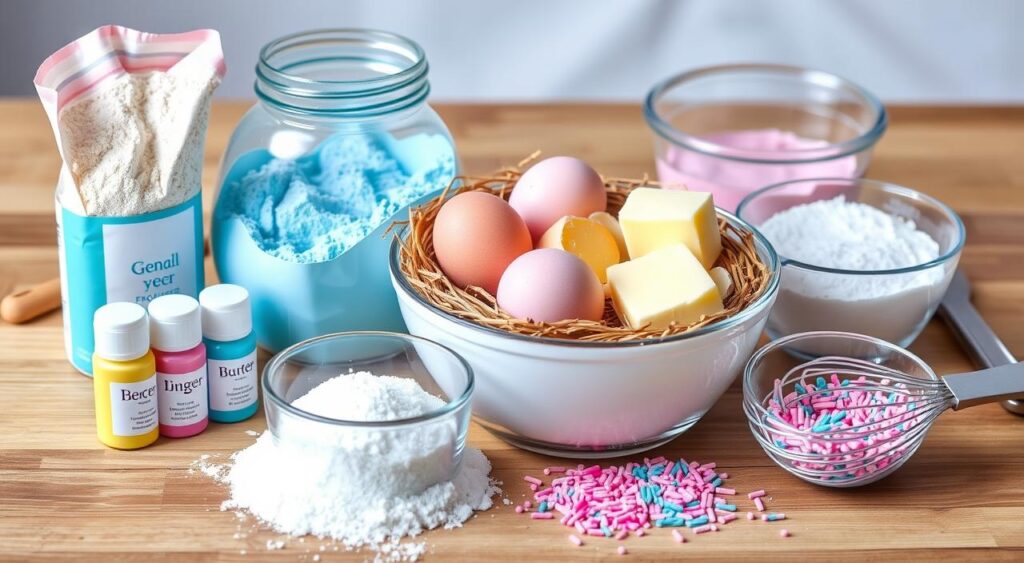
You’ll need all-purpose flour, baking powder, salt, and unsalted butter. Also, oil, sugar, eggs, vanilla extract, and whole milk are needed. For the frosting, have butter, powdered sugar, heavy cream, and more vanilla extract ready.
For your cake, you’ll need 9-inch cake pans, parchment paper, an electric mixer, and food coloring. If you want to use natural colors, beet powder for pink or blue spirulina are good choices. A digital kitchen scale, costing about $16.50, is helpful for measuring ingredients accurately.
“The key to a successful gender reveal cake is having the right gender reveal cake ingredients and baking tools for gender reveal cakes at your fingertips.”
With all the necessary items, you’re ready to make a beautiful and tasty gender reveal cake. It will impress your guests and share the joy of your baby’s gender.
Step-by-Step Gender Reveal Cake Recipe
Ready to make the ultimate gender reveal cake? Our easy tutorial is here to guide you. Whether it’s a big party or a small get-together, this guide will help you make a gender reveal cake that will impress everyone.
Preparing the Cake Batter
First, heat your oven to 350°F/180°C. Mix the dry ingredients like flour, baking powder, and salt. In another bowl, mix the butter, oil, and sugar until it’s light and fluffy.
Beat in the eggs one at a time. Then, add the vanilla extract. Next, mix the dry ingredients and milk with the wet mixture, but don’t overdo it. This keeps the cake light and fluffy.
Coloring Techniques for Perfect Layers
Split the batter into three bowls. Add blue and pink food coloring to each. Start with a little color and add more as needed. This will give you vibrant reveal layers.
Baking and Cooling Tips
Grease and flour your pans. Pour the colored batter into them. Bake for 25-30 minutes, until a toothpick comes out clean.
Let the cakes cool in the pans for 15 minutes. Then, move them to wire racks to cool completely. This ensures your layers stay together and easy to stack.
To get even layers, use a kitchen scale to measure the batter. Divide it evenly among the pans. This makes your cake balanced and symmetrical. Once the cakes are cool, you’re ready to assemble your easy gender reveal cake.
Creating the Perfect Ombre Effect
Getting the perfect ombre look for your gender reveal cake is easier than you think. To make color gradients in your cake, control the food coloring in each batter part. Start with a small drop in the first bowl, then add a bit more for the second and third layers. This method will make your cake look amazing, with colors getting lighter from bottom to top.
Or, you can color the whole batter and then split it into three parts for an easier ombre. Put the darkest layer at the bottom, the medium in the middle, and the lightest on top. This simple method lets you get the ombre gender reveal cake or layered gender reveal cake look with less effort.
“The ombre effect on my gender reveal cake turned out beautifully, and it was a huge hit at the party. The gradual color transition from deep pink to pale blush added such a elegant touch to the final presentation.”
Choosing the right approach is key to a great ombre look. With a bit of practice and focus, you’ll make a stunning ombre gender reveal cake. It will impress your guests and capture the moment beautifully.

Natural Food Coloring Alternatives for Your Cake
When making a gender reveal cake, think about using natural food coloring. Store-bought mixes and frostings often have artificial colors. Natural options can make your cake look better and be healthier.
Pink and Red Natural Options
Beet powder or dragonfruit powder can give your cake a soft pink color. These plant-based powders mix well into cake batter or frosting. They create vibrant pink and red colors without artificial dyes.
Blue Natural Color Choices
For a beautiful blue, try blue spirulina or butterfly pea flower. These natural ingredients make lovely pastel blues. Mix them with your dry ingredients for even color.
Remember, natural colors might not be as bright as artificial ones. But they give your cake a wholesome look. This is perfect for an organic gender reveal cake.
Exploring natural food coloring can make your gender reveal cake special. From beet powder to blue spirulina, these options are healthy and memorable. They show your commitment to using sustainable ingredients.
Frosting and Filling Techniques
Making the perfect gender reveal cake is about finding the right mix of colors and tastes. Start by beating softened unsalted butter until it’s light and fluffy. Then, add powdered sugar, heavy cream, and a bit of vanilla extract slowly. Keep adding sugar or cream until it’s just right.
When putting the cake together, place each layer on a strong plate or cake board. Spread frosting evenly between the layers. For the outside, apply a thin crumb coat, chill, and then add more frosting. Use an offset spatula or cake smoother for a smooth finish.
Adding a special gender reveal cake filling between the layers can be exciting. Choose a strawberry jam for a girl or blackberry for a boy. Or, go for a creamy cheesecake-flavored pudding. Make sure to seal the layers well to keep the surprise inside.
Feel free to try out different gender reveal cake frosting styles, like swirls or rosettes. The right frosting can make your cake look amazing and taste great. With a bit of practice and creativity, you’ll make a cake that’s both beautiful and delicious.
Creative Surprise Inside Ideas
Starting your gender reveal cake journey? Think about adding a fun surprise inside. A favorite idea is using a sprinkle-filled center. Cut a 2-inch circle from each cake layer, stack them, and fill the middle with colored sprinkles. Then, add the top layer. This way, when you cut the cake, a burst of color will surprise everyone.
Or, you could try a candy-filled center. Use pink or blue jelly beans, M&Ms, or other candies for a festive touch. Make sure the top layer seals the surprise inside until the big moment.
These fun gender reveal cakes ideas will make your guests happy and add a special touch to your celebration. Let your creativity flow and make a surprise inside gender cake that everyone will remember. It’s a great way to make the big moment even more exciting.
Size Variations and Scaling Tips
Flexibility is key when it comes to your gender reveal cake. This recipe can be easily adapted for cakes of different sizes. This ensures a perfect fit for your celebration.
A 6-inch 3-layer cake is great for small gatherings. Just halve the recipe and adjust the baking time. Start checking for doneness around 20 minutes. For bigger groups, a 9×13-inch sheet cake works well. Bake it at 325°F for 40-50 minutes.
Cupcakes are another great option. This recipe makes about 36 delightful treats. Bake them for 17-19 minutes. For a stunning Bundt cake centerpiece, baking time ranges from 45-75 minutes, depending on the pan size.
Choosing the right size is important. Use a toothpick to test for doneness. When scaling the recipe, remember to adjust the frosting quantities. This ensures perfect coverage and flavor balance.
Mastering gender reveal cake sizes and scaling gender reveal cake recipe lets you create the perfect cake. It doesn’t matter if your guest list is big or small.
Conclusion
Making a gender reveal cake at home is a fun and personal way to celebrate. You can use bright food coloring or natural ingredients. The secret is in the preparation and details.
Try to get the ombre effect just right or add a surprise inside. There are many ways to make your gender reveal cake recipe unique.
Make sure to adjust the recipe for the right size. Always use safe and quality ingredients for the best taste. With creativity and the right techniques, you can make a baby gender reveal cakes that everyone will love.
Enjoy the making process, take pictures, and share the joy with your family. This special cake will reveal the gender of your baby in a memorable way.
FAQ
What are the key ingredients needed for a gender reveal cake?
You’ll need flour, baking powder, and salt. Also, unsalted butter, oil, sugar, eggs, and vanilla extract. For the frosting, use butter, powdered sugar, heavy cream, and vanilla extract.
What equipment is required to make a gender reveal cake?
You’ll need 9-inch cake pans and parchment paper. An electric mixer and food coloring are also essential. You can use beet powder for pink or blue spirulina for blue.
How do you achieve an ombre effect on a gender reveal cake?
Start with a tiny drop of food coloring in the first bowl. Add a bit more for the second, and more for the third. This creates distinct shades. Or, color the whole batter and divide it for a simpler method.
What are some natural coloring options for gender reveal cakes?
Beet powder or dragonfruit powder can give a natural pink. Blue spirulina and butterfly pea flower are good for blue. These options might give softer shades than artificial dyes.
How can you create a surprise filling in a gender reveal cake?
Cut a 2-inch circle from the middle two layers. Stack layers, filling the cavity with colored sprinkles. You can also use candies like jelly beans or M&Ms.
Can this gender reveal cake recipe be scaled for different pan sizes?
Yes, you can adjust the recipe for different pan sizes. For a 6-inch 3-layer cake, halve the recipe. Start checking at 20 minutes for smaller cakes. For a 9×13-inch sheet cake, bake at 325°F for 40-50 minutes.
