I love making the perfect cheese board. It’s great for cozy nights or big celebrations. A well-made cheese board can make any event special.
It’s all about mixing flavors, textures, and looks. I’ve learned a lot about this over the years. Today, I want to share my knowledge with you.
Cheese boards are perfect for many events. They’re great for picnics, parties, birthdays, and girls’ nights. They’re a sophisticated snack that can be tailored to any event.
Whether you want something simple or impressive, choose cheeses that will wow your guests. This guide will help you create a stunning cheese board.
We’ll cover the basics of a great cheese board. I’ll share tips on picking and preparing cheeses. Plus, we’ll talk about how to arrange everything for the best look. By the end, you’ll know how to make a cheese board that will impress everyone.
Essential Components of a Stunning Cheese Board

To make a stunning cheese board, balance is key. You need a mix of cheese types, meats, and fruits. This mix of flavors and textures will make your board stand out, impressing your guests.
Types of Cheese to Include
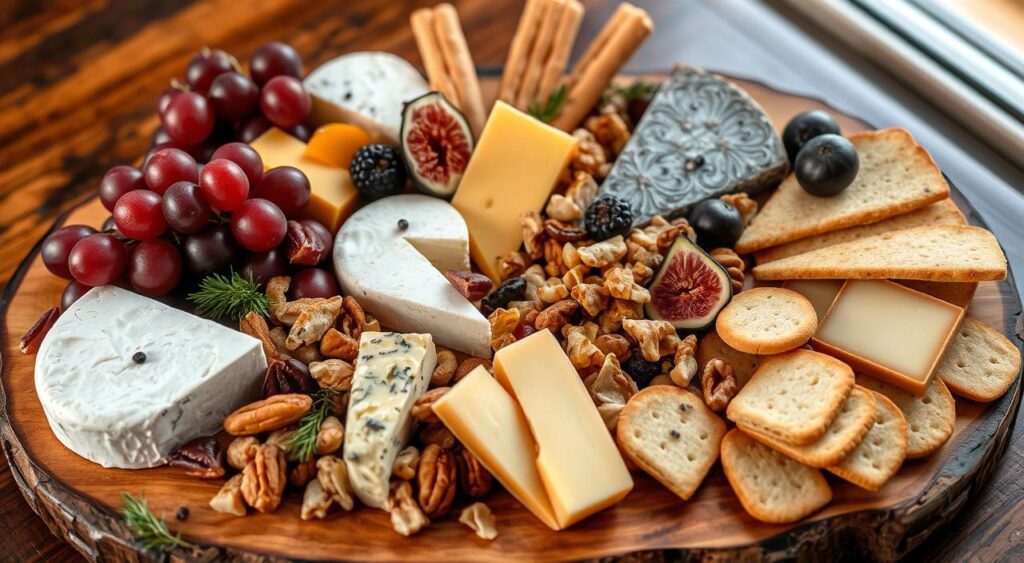
Your cheese board should have a variety of cheeses. Include soft cheeses like bries and camemberts, semi-firm cheeses like goudas and manchegos, and a bold blue cheese like gorgonzola. Having at least 4 types of cheese ensures a range of flavors and textures for your guests.
Complementary Meats and Charcuterie
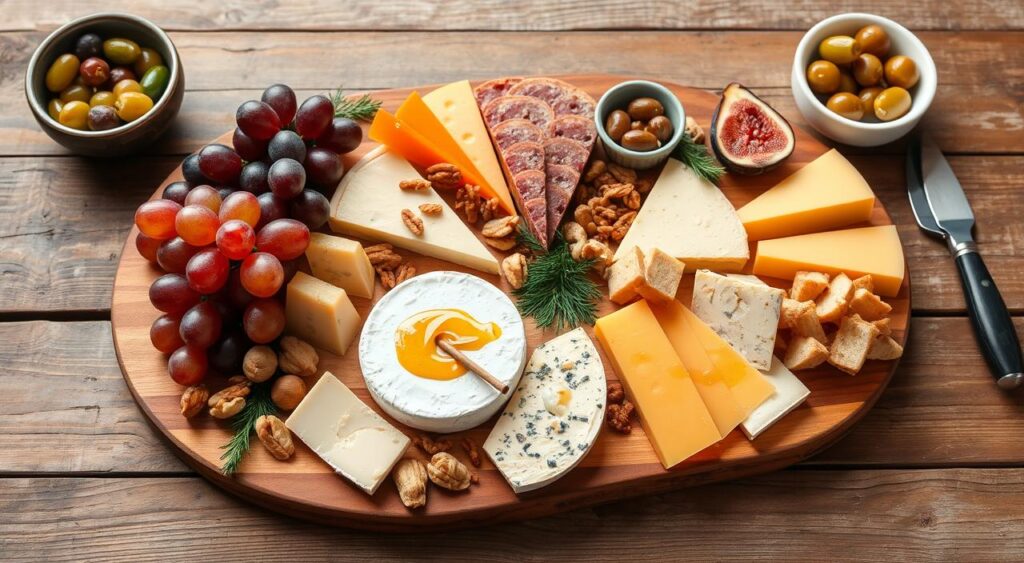
Adding high-quality cured meats like prosciutto, salami, and soppressata enhances your cheese board. These meats add a savory, umami flavor that contrasts well with the cheese. Aim for 1-2 ounces of cured meats per person.
Fresh and Dried Fruits Selection
Fresh and dried fruits are essential for a complete cheese board. Grapes, apple slices, and figs provide a sweet contrast to the cheese and meats. Dried apricots, cherries, and cranberries add a chewy, concentrated flavor. These fruits balance the board’s flavors.
“The secret to a memorable cheese board lies in the careful selection and arrangement of a diverse array of cheeses, meats, and fruits.”
Planning Your Cheese Board Layout

Creating the perfect cheese board needs careful planning. Start by placing small bowls for dips and items like olives or nuts. Then, arrange cheeses in different shapes and cuts for a beautiful display.
Position charcuterie meats in folds or rolls to add texture. Use crackers or bread slices as bases for cheese and meats. Fill gaps with fresh and dried fruits for a mix of sweet and savory.
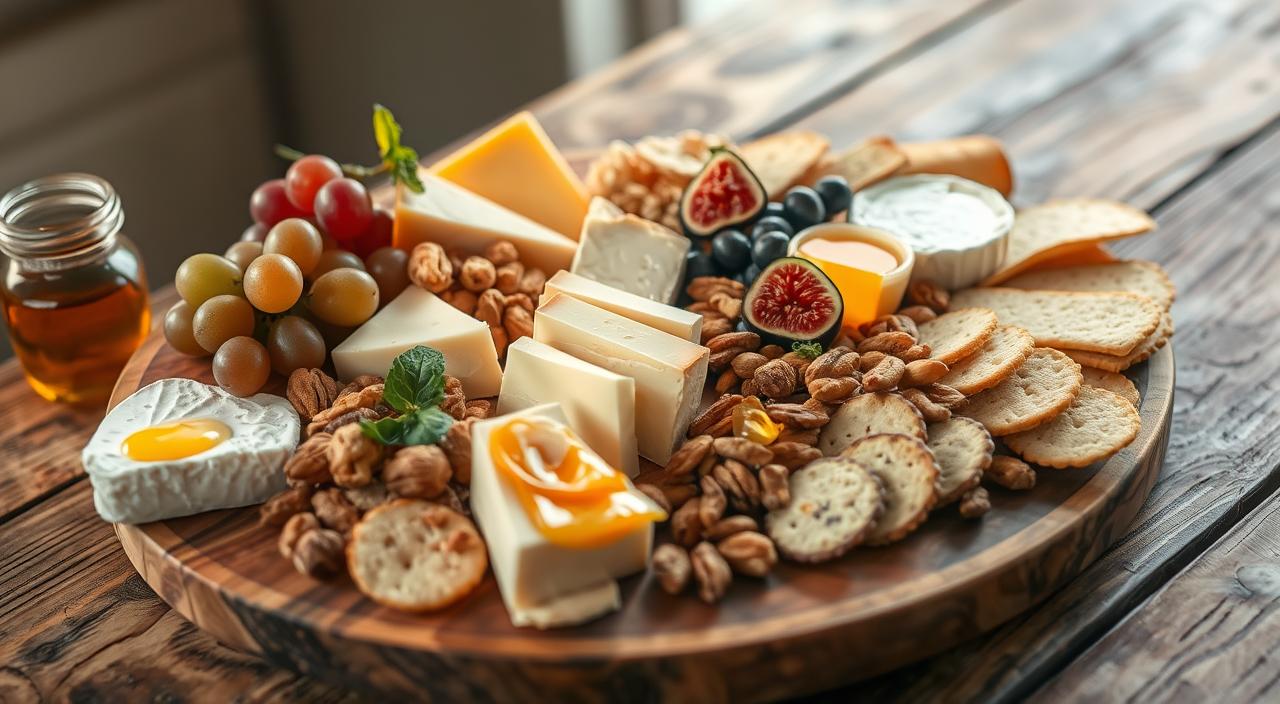
Place small bowls for condiments like honey or jam around the board. Add some greenery, like arugula or herbs, for a pop of color. The goal is to make a display that’s both beautiful and inviting.
“The best cheese boards feature a variety of textures, flavors, and colors, creating a truly memorable experience for your guests.”
Selecting and Preparing Different Cheese Varieties
Creating the perfect cheese board means choosing a variety of flavors and textures. Start with soft cheeses like brie or goat cheese. These can be served whole for guests to enjoy.
For a crunchy touch, add hard cheeses like sharp cheddar or Parmigiano-Reggiano. Specialty cheeses can also add a unique twist to your board.
Soft and Creamy Options
Soft cheeses like brie and Delice de Bourgogne are creamy and velvety. They pair well with fresh fruits, preserves, and breads. Burrata is another great choice with its creamy center and mozzarella shell.
Hard and Aged Selections
Hard and aged cheeses offer a bold flavor. Aged Gouda, Piave, and Midnight Moon are great choices. They add a satisfying crunch and depth of taste.
These cheeses are easy to slice or cube, making them perfect for sharing.
Specialty and Artisanal Choices
Adding unique cheeses like Bayley Hazen Blue or Torta del Casar can elevate your board. These cheeses offer new flavors and add visual appeal. Try a smoked gouda or creamy Harbison for a surprise.
Balance familiar and new cheeses for a memorable experience. With a mix of soft, hard, and specialty cheeses, your guests will be impressed.
Pairing Accompaniments and Garnishes
To make a cheese board stand out, pair your cheeses with flavors and textures that complement them. Try olives, pickles, roasted peppers, and spicy mustards for a nice contrast. Add sweet touches like fruits, candied nuts, jams, honey, or dark chocolate to balance it out.
Offer a variety of breads and crackers in different shapes and flavors. They’re the base for your cheese pairings. Get creative with garnishes like edible flowers, fresh herbs, or extra fruits. They add elegance and a seasonal touch.
“The right accompaniments can transform a simple cheese board into a work of art.”
When pairing cheese, think about the cheese’s intensity and characteristics. Soft, creamy cheeses go well with delicate fruits. Stronger, aged cheeses can handle bold appetizer garnishes like olives and pickles. Try different combinations to find your favorites.
The beauty of a cheese board lies in its variety and balance. Choose a range of cheeses, meats, and accompaniments. This way, you’ll create a spread that’s both beautiful and delicious, sure to impress your guests.
The Art of Cheese Board Arrangement
Making a beautiful cheese board is more than picking the right cheeses and sides. The way you present it is key to making it look good and inviting. By focusing on balance and smart placement, you can turn your cheese board into a masterpiece.
Creating Visual Balance
Start by spreading out colors, textures, and shapes on the board. Mix different cheeses with meats, fruits, and nuts. Place items so everyone can easily grab them. Use different heights and containers to make it more interesting.
Spacing and Placement Techniques
Put the big items like cheese or meat on first. Then, fill in with smaller things like grapes or crackers. Group similar items for a neat look. Don’t pack it too tight to avoid looking messy. Leave space for guests to enjoy the cheese board presentation and appetizer styling.
The secret to a great cheese board is balance. Think about how each piece fits together. This way, your board will look amazing and be easy for guests to enjoy.
Seasonal Variations for Your Cheese Board
Make your cheese board special by using seasonal ingredients. In summer, choose soft cheeses like brie or goat cheese. They’re perfect for the heat. Add juicy berries, ripe fruits, and cured meats for a refreshing look.
In autumn, go for stronger cheeses like cheddar, Gouda, and blue cheese. They match well with figs, pears, and apples. Add honey or fig jam for sweetness. Crunchy nuts and crackers add texture.
Winter calls for rich, creamy cheeses like double-cream brie or Manchego. Surround them with dried fruits, spiced nuts, and chutneys. Rosemary or thyme adds a festive touch.
Spring brings a chance to use fresh cheeses like chèvre or feta. Pair them with crisp veggies, herbs, and edible flowers. It’s a lively, garden-inspired display.
The secret to a great cheese board is to use the best of nature’s offerings. By doing this, you’ll make a memorable experience for your guests.
Tools and Equipment Essentials
Creating the perfect cheese board for any gathering needs the right tools and equipment. From sturdy cheese board tools to specialized cheese serving equipment, each item is key. They help make your charcuterie spread look great and taste even better.
Serving Utensils and Boards
Begin with a sturdy, personalized charcuterie board or platter. Slate or wooden boards add a rustic touch. You’ll need a set of cheese knives for different cheeses, from soft to hard.
Ceramic dipping bowls and cheese markers help organize your cheese. Wooden condiment spoons and bread knives make dining smooth.
Storage and Presentation Items
To keep cheeses fresh and your presentation sharp, use cheese paper or beeswax wraps. Having platters and boards in various sizes is handy for different groups. Ramekins, picks, and skewers help with portion control and creative pairings.
Charcuterie board oils and wooden tongs improve your cheese board’s look and feel.
“Cheesemongers recommend using the correct hardware to preserve the optimal look, texture, and taste of cheeses, potentially leading to Instagram cheese plate influencer stardom.”
Investing in the right cheese board tools and cheese serving equipment makes your charcuterie board a masterpiece. It will impress your guests and make your dining experience unforgettable.
Temperature and Timing Considerations
Making a great cheese board needs careful thought on temperature and timing. It’s key to serve cheese at the perfect temperature. Take your cheese out of the fridge 30 to 60 minutes before your event. This lets the flavors and smells fully come out, making your guests’ experience better.
For cheese board prep, set up the layout early but add fresh items like fruits or meats just before serving. This keeps your board looking and tasting fresh all evening.
Think about the order of your cheeses too. Start with milder cheeses and then move to stronger, aged ones. This way, your taste buds can enjoy each flavor fully. Also, be ready to add more fresh items during long events to keep your cheese serving temperature perfect.
“The perfect cheese board is all about balancing temperature, timing, and presentation for a truly memorable tasting experience.”
Quantity Guidelines for Different Group Sizes
Planning the perfect cheese board is all about finding the right mix. You need to balance variety with the right amount for everyone. The size of your group will guide how much cheese, meats, and other items you include.
Small Gatherings (4-6 people)
For a small group of 4-6, aim for 3-4 cheese types. Each person should get 1-2 ounces. Pair the cheese with 2-3 cured meats or charcuterie.
Include 2-3 types of crackers, breadsticks, and 2-3 fruits and veggies. This mix will balance the flavors well.
Large Events (12+ people)
For parties of 12 or more, increase the cheese to 5-6 varieties. Offer 3-4 cured meats or charcuterie. Plan for 4-5 ounces of cheese per person, adjusting for the event’s type and length.
Offer a variety of accompaniments like jams, chutneys, nuts, and olives. This will make your cheese board both stunning and satisfying.
Remember, these are just guidelines for cheese board portions and party platter sizing. The goal is to meet your guests’ tastes and fit the event’s theme and length.
Budget-Friendly Cheese Board Options
Creating a stunning affordable cheese plate doesn’t have to be expensive. Choose domestic cheeses and add cost-effective items to make an economical appetizers spread. This way, you impress your guests without spending a lot.
Begin by picking 2-3 cheese types, mixing high-end and budget-friendly options. Add seasonal fruits, nuts, and cured meats like salami. Use what you already have, like crackers or bread, to save money.
“Building an attractive cheese plate for under $30 is achievable. This puts an emphasis on providing cost-effective options for creating a cheese board.”
For your affordable cheese plate, skip traditional wood boards. Use large platters or sheet pans for a stunning display. Arrange items for balance and flavor to make a delicious economical appetizers presentation.
With creativity and smart shopping, you can have a fancy cheese board without spending too much. Focus on value and looks to make an affordable cheese plate your guests will love and remember.
Professional Tips for Presentation
Make your cheese board stand out by using different heights and textures. Use small risers or upside-down bowls under napkins to add depth. Add color with fresh fruits, veggies, and garnishes.
Pre-cut some cheeses but leave others whole for a fun display. Fill gaps with herbs or flowers for a better smell and look. Arrange items to guide the eye for a fancy look.
Place serving utensils near each item so guests can easily pick what they want. Focus on the details to make your cheese board a hit at any event.
FAQ
What are the typical components of a cheese board?
A cheese board has 3-5 cheese types, meats, and crackers. It also includes fruits, nuts, and spreads like jam or honey.
What types of cheese should be included on a cheese board?
Choose a mix of cheeses: soft (like brie), semi-soft (fontina), semi-firm (manchego), and firm (aged cheddar).
What other meats and accompaniments can be added to a cheese board?
Meats like prosciutto and fruits like grapes add variety. Dried fruits and nuts provide texture and sweetness.
How should a cheese board be arranged for visual appeal?
Start with small bowls for dips. Arrange cheeses in shapes and cuts. Place meats in folds.
Add crackers and fill gaps with fruits and nuts. Use small bowls for honey and herbs. This makes the board look great.
How can you pair cheeses with complementary flavors?
Pair cheeses with savory items like olives and sweet items like fruits. Offer different breads and crackers.
How can you adapt a cheese board to different seasons?
In summer, use fresh berries and light cheeses. Fall boards have figs and strong cheeses. Winter boards have dried fruits and creamy cheeses.
Spring boards include goat cheese and crisp veggies.
What essential tools are needed to create a cheese board?
You’ll need a sturdy board, cheese knives, and small bowls. Slate or wooden boards add a rustic touch. Cheese markers are helpful.
How much cheese and other items should be included for different group sizes?
For 4-6 people, offer 3-4 cheeses, 1-2 ounces each. Include 2-3 meats, crackers, and 2-3 accompaniments.
For 12+ people, increase to 5-6 cheeses, 3-4 meats, and more accompaniments. Plan for 4-5 ounces of cheese per person.
How can you create a budget-friendly cheese board?
Choose domestic cheeses for less cost. Mix in one or two expensive cheeses. Use seasonal fruits and veggies for variety.
Incorporate homemade items like roasted nuts or pickles to save money.
