Planning a child’s birthday is a joyous task. A whimsical unicorn birthday cake can make their day unforgettable. With simple ingredients and creativity, you can make a colorful, magical cake. It will make your child and their friends very happy.
This guide will show you how to make a stunning unicorn cake. It will be the highlight of your child’s party. We’ll cover everything from the rainbow interior to the frosted exterior. Get ready to be a pastry artist and add magic to your celebration!
Essential Tools and Ingredients for Your Unicorn Cake

Making a magical unicorn cake at home needs special baking tools and decorating supplies. Whether for a unicorn party or a special event, knowing the right tools and ingredients is crucial. It helps you get a cake that looks like it was made by a pro.
Basic Baking Equipment
You’ll start with a 9×13-inch baking pan, a big mixing bowl, and a good electric or hand mixer. A serrated knife is also key for leveling and shaping the cake layers.
Decorating Tools and Supplies
For decorating, you’ll need various tools. This includes disposable pastry bags, open star tips, teardrop and round cookie cutters, a fondant roller, and a fan brush. These help create the unicorn’s features and add details.
Required Ingredients List
The ingredients for your unicorn cake include a classic cake mix and food coloring (purple, blue, green, yellow, orange, and red). You’ll also need white and pink frosting, modeling chocolate in different colors, and edible gold luster dust. Don’t forget parchment paper, a large white cardboard cake board, and baking spray for easy cake release.
With these tools and ingredients ready, you’re set to make a wonderful unicorn cake. It will be the star of any party, bringing magic to your guests.
Preparing the Perfect Rainbow Cake Base

Unleash your inner artist and create a rainbow frosting techniques masterpiece with a stunning enchanted dessert creations cake base. Turn a simple white cake mix into a vibrant, multi-layered rainbow delight. It will captivate your guests.
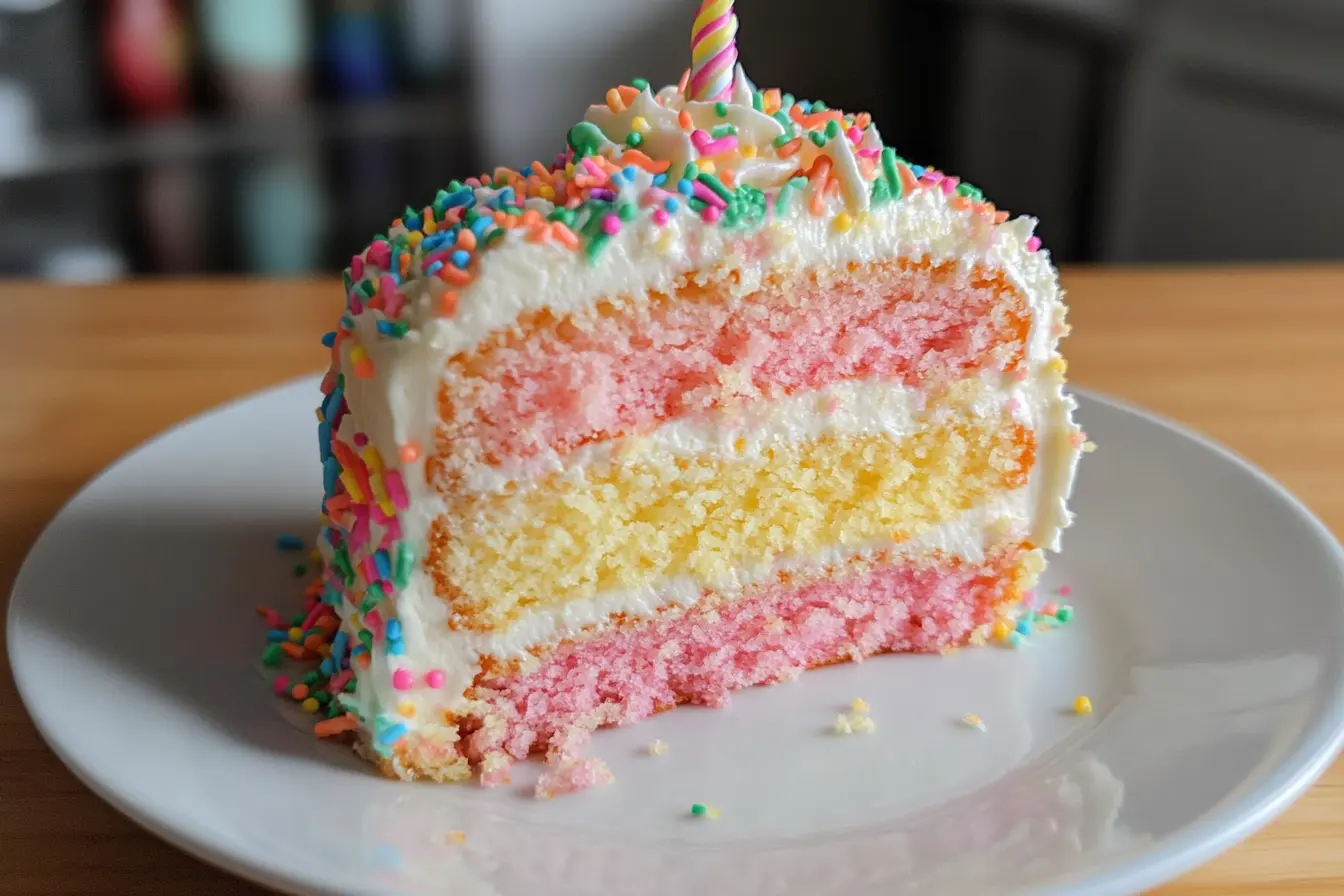
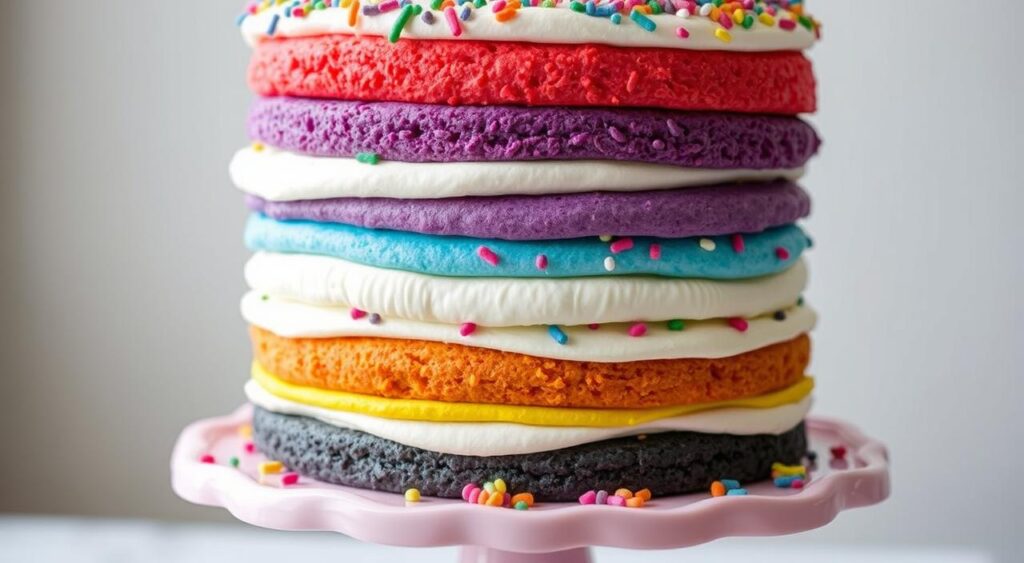
To start, divide the cake batter into six bowls, one for each color of the rainbow. Add food coloring to each bowl for a deep, saturated hue. You’ll need red, orange, yellow, green, blue, and purple. Pipe the colored batters into a 9×13-inch pan, layering them in rainbow order – purple, blue, green, yellow, orange, and red.
“Google reported that ‘Unicorn Cake’ was the most searched food for 2018, showcasing the growing popularity of these enchanting dessert creations.”
Repeat this layering for three layers, creating a vibrant rainbow effect. Bake as instructed, then let the cake cool completely before assembling.
With patience and the right rainbow frosting techniques, you can turn a simple cake mix into a stunning enchanted dessert creations. Embrace the magic of the rainbow and let your creativity shine!
Creating the Perfect Unicorn Birthday Cake Shape
Making a unicorn cake is a key part of your magical cake decorations. Start by cutting the cooled 9×13-inch rainbow cake in half. Then, divide one half into three long rectangles. Trim two of the rectangles by an inch to get the right size for the unicorn’s body, head, and legs.
Place the cut pieces on a unicorn-shaped cardboard cake board. Use the remaining cake for snacks or to make a horn shape.
Cutting and Assembling Techniques
Cutting and assembling with care are essential for a perfect unicorn shape. Make sure the cake pieces are in the right spot to capture the unicorn’s majestic curves and clean lines. With patience and attention to detail, you’ll create a stunning fantasy cake that will wow your guests.
Base Structure Tips
A strong base is vital for supporting the cake’s weight and keeping its shape. Use a unicorn-shaped cardboard cake board as the base. Carefully arrange the trimmed cake pieces to form the body, head, and legs. This solid structure will help your decorations stay in place.
Positioning Guide
Before frosting, fine-tune the cake pieces’ position. Imagine the final unicorn shape and adjust as needed for perfect balance and proportions. This focus on detail will make your whimsical cake decorations and fantasy cake designs come together beautifully.
Mastering the Frosting Technique
Take your unicorn cake to the next level with the right frosting technique. The secret to a whimsical, cloud-like finish is in piping the frosting. Start by filling pastry bags with vibrant pink and pristine white buttercream frosting. Use #21 open star tips.
Pipe the white frosting in neat rows on the unicorn’s body, sides, and top. Make sure to leave space for your pink frosting details.
To get the textured, fur-like look on the unicorn’s body, use the star tip technique. Apply even pressure to create dimensional, star-shaped swirls. For the snout and hooves, switch to pink frosting and repeat the star piping method. This adds a playful touch to these features.
Learning rainbow frosting techniques and whimsical cake decorations is key to a stunning unicorn birthday cake. With practice and patience, you’ll master piping. Your cake will be as beautiful as it is tasty.
Crafting the Magical Unicorn Features
Making a unicorn birthday cake is all about adding magical details. You’ll need a glittering golden horn, a vibrant rainbow mane, and tail. Each part brings whimsy and enchantment to your cake. Let’s explore how to create these special features.
Making the Golden Horn
Begin by shaping a horn from white modeling chocolate into a cone. Twist the base for grooves, then coat it with edible gold luster dust. This gives it a shiny, metallic look. The golden horn is key, so make sure it’s perfect.
Shaping the Ears
Now, make the unicorn’s ears with white and pink modeling chocolate. Use teardrop-shaped cookie cutters for the shapes. Attach them to the cake carefully. These details will make the unicorn come alive and add magic to your celebration.
Creating the Mane and Tail
To finish the unicorn, shape the mane and tail from colored modeling chocolate logs. Use a rainbow of colors: purple, blue, green, yellow, orange, and red. Flatten and shape the logs into flowing, vibrant pieces. These colorful elements will enchant your guests and make your cake magical.
Advanced Decorating Techniques for Fantasy Elements
Let your creativity shine and turn your unicorn birthday cake into a magical treat. Use black modeling chocolate to make thin half-moon shapes for the eyes and delicate eyelashes. Add a whimsical mouth and a playful nose to make the unicorn’s features pop.
With a bit of frosting, attach the unicorn’s majestic ears and the iconic golden horn. This completes the look. Then, insert the vibrant rainbow mane into the unicorn’s head, flowing down the sides. Place the flowing tail into the body for a perfect finish.
“These advanced techniques infuse your unicorn cake with a sense of magic and wonder, transporting your guests into a realm of fantasy and delight.”
Explore the art of fondant unicorn figurines and enchanted desserts. This will take your unicorn cake to new heights of whimsical elegance. The details and fantasy elements will amaze your guests, leaving them in awe of your creation.
Unleash your inner artist and let your imagination soar. Bring your unicorn cake to life with these advanced decorating techniques. Get ready to see the magic happen and impress your guests with your fondant unicorn figurines and enchanted desserts.
Adding Colorful Details and Finishing Touches
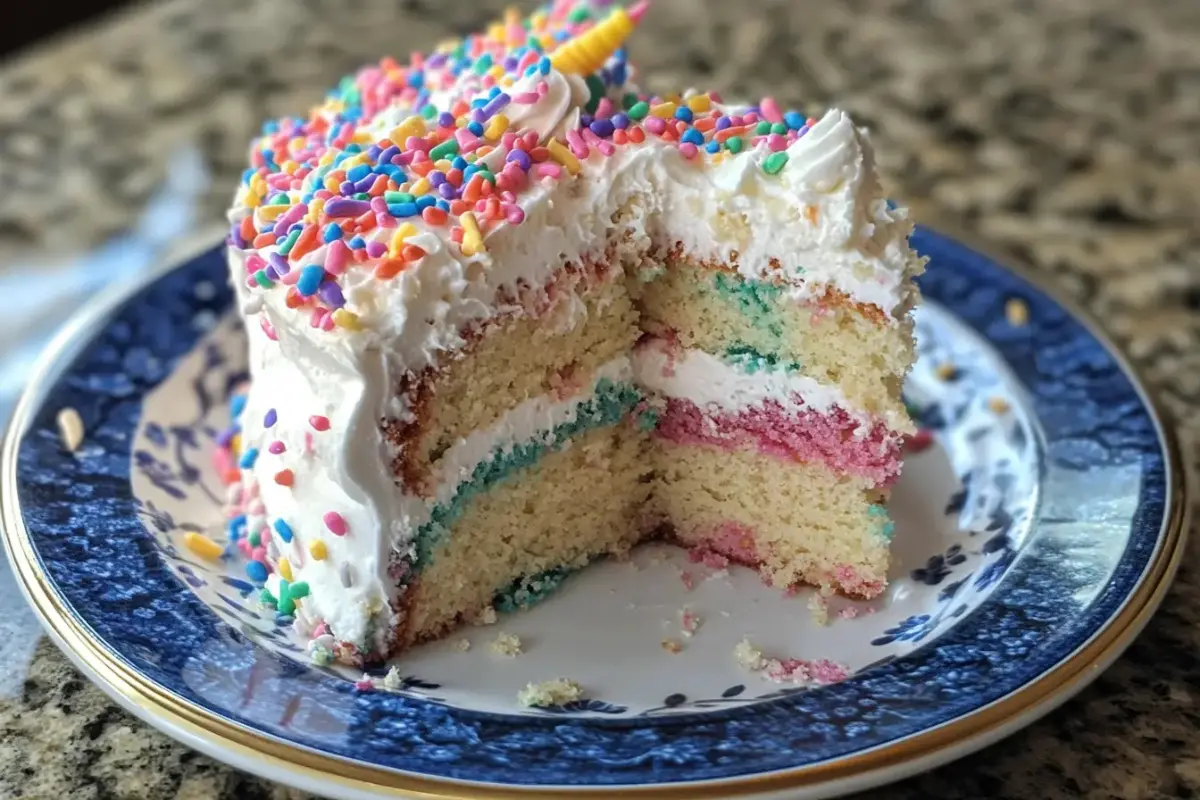
Make your magical unicorn birthday cake pop with bright colors and sparkles. Use a rainbow of frosting colors to bring it to life. Try purple, blue, or pink to make it stand out. The inside of the cake will surprise everyone with its colorful layers.
Rainbow Color Combinations
Get creative with colors that make you feel like you’re in a fairy tale. Mix soft lavender and baby blue for a dreamy look. Or, go bold with fuchsia and turquoise for a striking design. The choices are endless for these magical cake decorations.
Edible Glitter Application
Add a magical touch with edible glitter on your unicorn cake. It will sparkle and shine, perfect for a magical birthday. Apply the glitter carefully to the frosting or fondant for a beautiful, enchanting look.
“The best part about making a unicorn cake is the opportunity to let your creativity shine. The more whimsical and magical, the better!”
Storage and Transportation Tips
Making a unicorn birthday cake is a special task. You’ll want it to look perfect until the party. Here are some tips for keeping your cake in great shape.
For up to 3 days, your unicorn cake can stay at room temperature. But, don’t put it in the fridge if it has modeling chocolate. The moisture can make it sticky. Keep it fresh in an airtight container or cake carrier.
When moving your cake, use a strong, safe container. A cake carrier is best because it keeps your cake steady. If you have extra cake, take off the modeling chocolate before freezing or refrigerating.
Follow these storage and transportation tips to keep your unicorn cake looking magical. Your guests will love the fantasy cake and the fun of the party.
Conclusion
Making a magical unicorn birthday cake at home is easy and fun. This guide has shown you how to turn a simple sheet cake into a colorful masterpiece. It’s perfect for any unicorn-themed party.
With some planning and effort, you can make a cake that will wow everyone. It’s a great way to make any birthday special and magical.
Unicorn cakes are becoming more popular, and they’re good for your mood. They’re great for kids’ birthdays and even bridal showers. Social media has helped spread the love for these cakes, showing off amazing designs.
Whether you’re a pro or just starting, this guide has everything you need. It covers frosting, making unicorn features, and managing your time. It’s all about paying attention to detail to get a cake that looks like it was made by a pro.
So, get creative and let your imagination run wild. Make your next unicorn birthday cake or magical birthday celebrations unforgettable. It’s time to bring this enchanting cake to life!
FAQ
What basic baking equipment is needed to make a unicorn birthday cake?
You’ll need a 9×13-inch baking pan, a mixing bowl, a mixer, and a serrated knife.
What decorating tools and supplies are required?
You’ll need disposable pastry bags, open star tips, and cookie cutters. Also, a fondant roller, fan brush, parchment paper, a large white cardboard cake board, and baking spray.
What key ingredients are needed to make the unicorn cake?
You’ll need a white cake mix, food coloring (purple, blue, green, yellow, orange, red), white and pink frosting. Also, modeling chocolate in various colors and edible gold luster dust.
How do you create the tie-dye rainbow swirl inside the cake?
Divide the batter into 6 bowls and color with different food colors. Pipe swirls of each color into a 9×13-inch pan, layering them. Repeat for three layers.
What techniques are used to shape the unicorn’s body and features?
Cut the cake in half and into three long rectangles. Arrange these on a unicorn-shaped board to form the body, head, and legs. Use modeling chocolate for the horn, ears, mane, and tail. Black modeling chocolate is for the eyes and facial details.
How do you use frosting to achieve the textured, fur-like appearance on the unicorn’s body?
Use white and pink frosting with a #21 open star tip to create rows of stars. This gives the unicorn a textured, fur-like look.
What advanced decorating techniques are used to bring the unicorn character to life?
Attach the ears and horn with frosting. Insert the rainbow mane and tail into the cake. Use black modeling chocolate for the eyes and eyelashes. Add a mouth and nose to the unicorn’s face.
How can the unicorn cake be further enhanced with colorful details?
Add edible glitter for sparkle. Try different frosting colors for a unique look. The rainbow inside is a fun surprise when you cut it.
How should the completed unicorn cake be stored and transported?
Store the cake at room temperature for up to 3 days. Avoid refrigeration to keep the modeling chocolate decorations from getting sticky. Use a sturdy cake carrier for transport. Remove modeling chocolate elements before refrigerating or freezing leftovers.
