The moment the tart, tangy sensation hits your tongue, it’s like a burst of pure delight. I remember eagerly waiting for my favorite sour candy as a kid. Its vibrant colors and puckery flavors lit up my taste buds.
As an adult, my love for sour candy has only grown stronger. It’s deepened my appreciation for the art of making sweets.
If you’re a sour candy lover like me, you’re in for a treat. In this guide, we’ll explore the secrets of making homemade sour candy. You’ll learn about sugar concentration, temperature control, and the right ingredients and tools.
Whether you want to make classic Warheads or try citrusy lemon drops, we’ve got you covered. This guide will help you create your own delicious sour candies.
Let’s start our sour candy journey together. You’ll learn to use real fruit, pectin, and citric acid to make tasty treats. Get ready to amaze your taste buds and impress your friends with your sour candy skills.
Understanding the Science Behind Sour Candy Making

Making the perfect sour candy needs a good grasp of the science. It’s all about balancing sugar, temperature, and special ingredients like pectin and gelatin.
The Role of Sugar Concentration
Sugar concentration is key for the right texture and set of sour candies. Aim for a sugar solution of about 80% at 230°F. This precise sugar level is crucial for the candy’s texture.
The Importance of Temperature Control
Temperature control is also vital in sour candy making. The temperature affects the sugar concentration and texture. Use a reliable thermometer and adjust for high altitude if needed.
How Pectin and Gelatin Work
Pectin and gelatin are essential in sour candy making. Pectin creates a gel with sugar and acid, giving a chewy texture. Gelatin adds elasticity, making your sour punch straws or toxic waste candies bounce. Knowing how these ingredients work is crucial for perfect sour treats.
Mastering sour candy making science will help you create irresistible homemade treats. Your taste buds will thank you.
Essential Ingredients and Equipment for Homemade Sour Candy

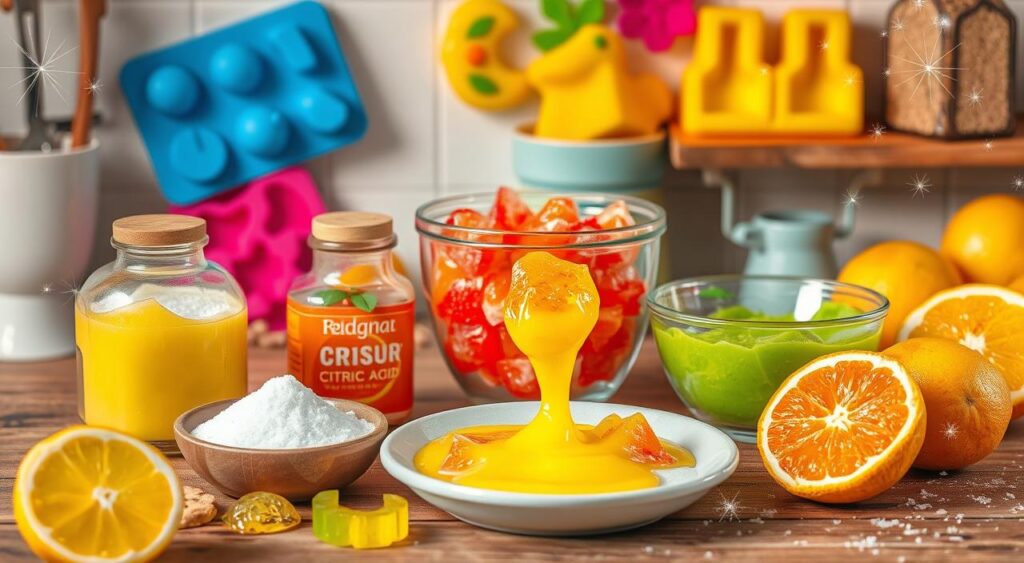
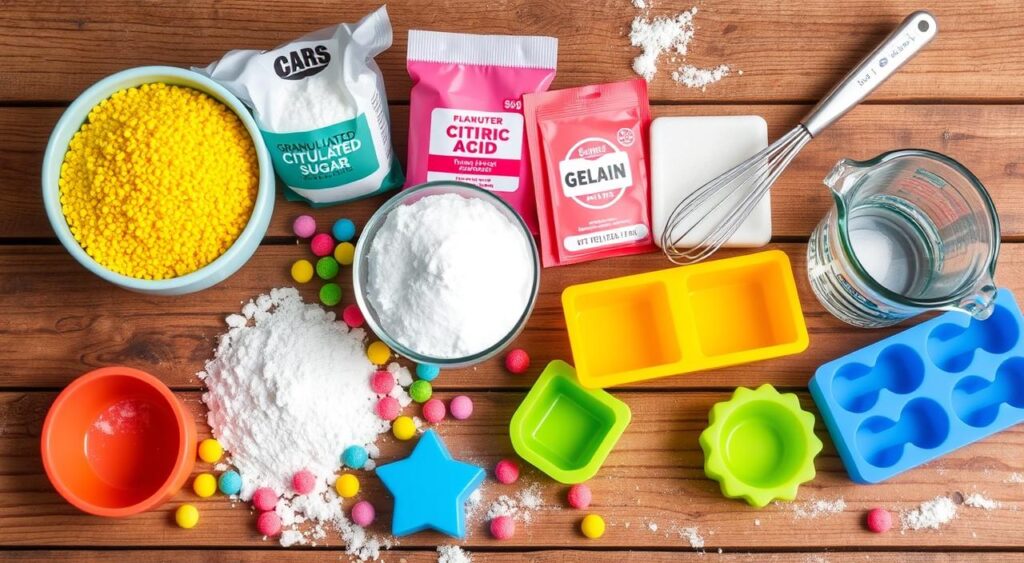
Making sour gummy worms and candies at home needs a few key things. You’ll need fruit puree, sugar, pectin or gelatin, citric acid, and water. For vegan options, use agar powder and agave syrup instead of gelatin and honey.
You’ll start with a food processor to mix your fruit puree. A heavy-bottomed saucepan is key for cooking the candy. A candy thermometer is crucial to check the temperature, aiming for 300°F.
For shaping, use silicone molds or trays. A wire rack is needed for drying and cooling the candies.
Citric acid is key for sourness. You can find it in pharmacies or online stores. Start with ¼ teaspoon of citric acid per pound of sugar, mixed with a tablespoon of water. Adjust to your taste. Use high-quality gelatin or pectin for the best texture.
“Homemade sour candy is a delightful way to satisfy your sweet and sour cravings. With the right ingredients and equipment, you can create a variety of flavors and textures to tantalize your taste buds.”
Working with hot candy mixtures is dangerous. Always be careful and follow safety rules. With the right tools and practice, you’ll make delicious sour gummy worms and candies at home.
Basic Techniques for Making Sour Gummy Bears
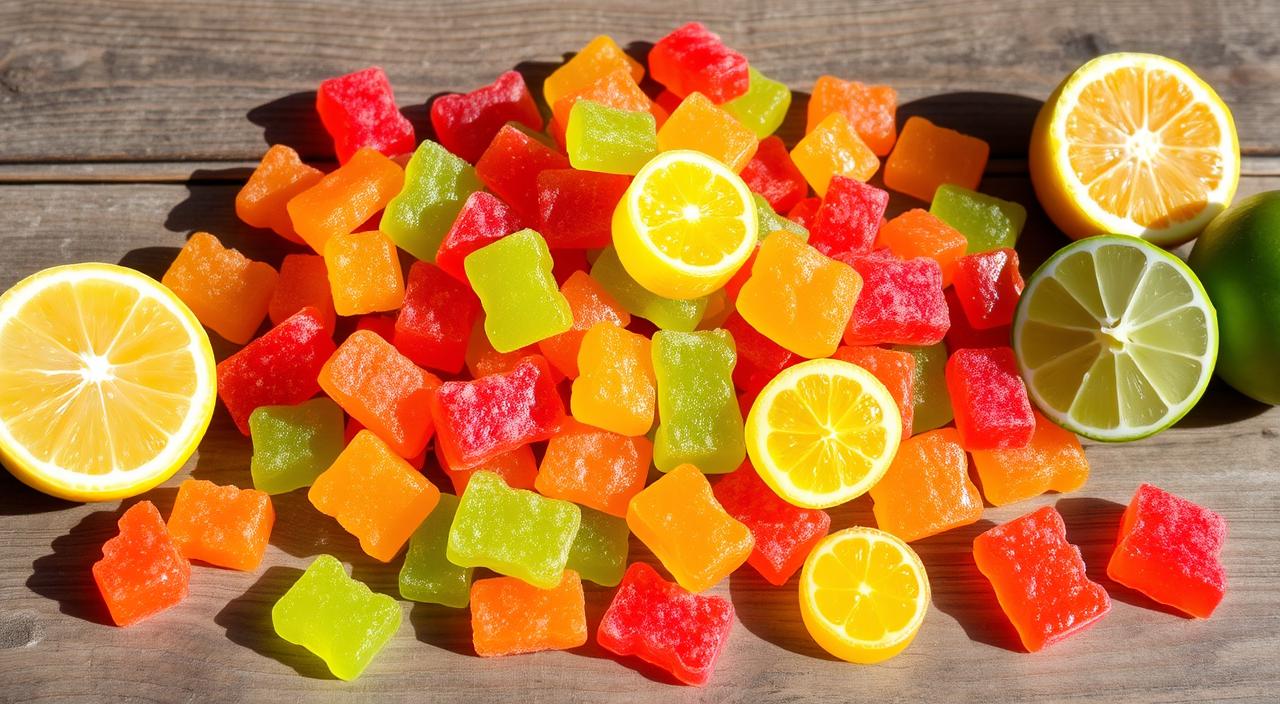
Making sour gummy bears at home is fun. You can make chewy, tangy treats like the ones in sour belt candy. Here’s how to make homemade gummy bears that taste great.
Preparing the Fruit Base
First, puree your favorite fruit like lemon, lime, or orange until it’s smooth. This fruit base is the start of your sour gummy bears. Mix it with water, lemon juice, and a bit of sweetener to balance the taste.
Adding Gelatin or Pectin
To get the gummy texture, add gelatin or pectin to the fruit mix. Slowly add and mix the gelatin or pectin while heating the mix gently. This step makes the mix bind and gives it a chewy texture.
Molding and Setting Process
Once the mix is smooth, strain it to get rid of lumps. Pour the mix into silicone gummy bear molds, filling them up. Put the molds in the fridge for at least 6 hours to set. For an extra sour taste, toss the gummies in sugar and citric acid before eating.
With these steps, you can make delicious sour gummy bears. Try different fruits and sour coatings to make your own special treats.
Creating Perfect Citrus-Based Sour Candy
Take your homemade sour candy to the next level with citrus flavors. Use organic fruits like grapefruits, lemons, and oranges. This way, you can make sour spray candy and citrus candy that will excite your taste buds.
Begin by removing the fruit flesh and cutting the peels into shapes. To reduce bitterness, boil the peels three times in fresh water. Then, cook them in a sugar syrup until they’re candied just right.
Finally, coat the peels with a mix of sugar and citric acid. This gives the perfect mix of sweet and sour.
“Sumo mandarin oranges work exceptionally well for this recipe, thanks to their medium-thick peels that become wonderfully chewy and flavorful when candied.”
The sugar to citric acid ratio is key for the right sour taste. A 2:1 sugar to citric acid ratio is best. But start with a 50/50 mix and adjust to taste. Too much citric acid can irritate your tongue, so use it carefully.
Mastering citrus-based sour spray candy and citrus candy will impress your family and friends. Enjoy the bright flavors of nature’s best fruits in your homemade sour candies.
Making Natural Fruit-Based Sour Gummies
Get rid of artificial flavors and colors in commercial sour patch kids. It’s time to make your own natural fruit-based sour gummies. Use fresh, wholesome ingredients to create sour candies that are healthy and delicious.
Choosing the Right Fruits
Choosing the right fruit is key when making natural sour gummies. Go for tart fruits like strawberries, blueberries, or raspberries. They offer a sweet and sour taste. Plus, they’re packed with nutrients from real fruit.
Proper Cooking Methods
To get the right texture, cook the fruit puree with sugar and pectin or gelatin until it hits 230°F. This ensures the mixture sets right, giving you chewy and sour candies. Stir constantly to avoid burning or overcooking.
Setting and Drying Techniques
Pour the cooked fruit mixture into silicone molds for easy shaping. Chill the gummies in the fridge for at least 6 hours to set. After they’re firm, remove them from the molds and coat them in citric acid and sugar for that sour taste. Let them air-dry for a couple of hours before enjoying your homemade treats.
With a few simple steps and fresh ingredients, you can make delicious sour patch kids-inspired gummies. Enjoy the natural sweetness and tanginess of these homemade candies. Plus, you’ll feel good knowing you made a healthier treat yourself.
Working with Citric Acid and Sour Coatings
Citric acid is key for making sour candies. It’s found in citrus fruits and gives candies that tangy feel. This is what makes warheads and other sour candies so fun to eat.
To make your own sour candies, mix citric acid with sugar. Start with 1-3 teaspoons of citric acid for every 1/2 cup of sugar. Adjust this to your liking. Then, toss your candies in this mix for a sour finish.
“Experimentation with the amount of citric acid is recommended to achieve the desired level of sourness.”
Be careful with how much citric acid you use. Too much can be bad. Mix it with a little water before adding it to your candy mix. This mix should get to 300°F to harden.
For even more sourness, sprinkle citric acid on your candies when they’re still wet. You can also use it to coat your candies. This keeps them from getting soggy.
Learning to use citric acid well will help you make sour candies that are truly special. Your taste buds will thank you.
Troubleshooting Common Sour Candy Making Issues
Making the perfect homemade sour candy can be tricky. You might face issues like temperature problems, texture concerns, or storage challenges. Here are some tips to help you fix these common candy making issues.
Temperature Problems
Getting the temperature right is key when making sour candy. Always check your thermometers in boiling water to make sure they’re accurate. For softer, chewier gummies, cook the mixture to 223-226°F.
Don’t cut down on sugar, as it can mess up the setting process. This might make your gummies too soft.
Texture Concerns
If your sour gummies are too soft, try cooking them to 226-230°F next time. This will help them set better. But, be careful not to overcook citrus-based candies. This can cause them to turn color and feel bad.
Storage Solutions
Storing your candies right is important to keep them fresh. Keep them in an airtight container in the fridge. This stops them from drying out or picking up bad smells.
With these candy making tips and homemade candy troubleshooting tricks, you’ll make sour candies that taste great and look good too.
Storage Tips and Shelf Life
Keeping your homemade candy fresh is all about the right storage. For gummies, use an airtight container in the fridge for weeks. If they have a sour coating, keep them at room temperature to avoid a slimy texture.
Citrus peel candies can stay fresh for a month in a sealed container. You can also re-coat them with sugar and citric acid for extra flavor. But, don’t refrigerate sour-coated candies to keep their texture right.
Different candies need different storage. Hard candies and gummies can last a year in a cool, dry spot. Chocolates can stay good for six months if stored right. Generally, candy can last weeks to months after opening, depending on the type and how you store it.
FAQ
What are the basic ingredients and equipment needed to make homemade sour candy?
To make sour candy, you’ll need fruit puree, sugar, and pectin or gelatin. You’ll also need citric acid and water. For vegan options, use agar powder and agave instead of gelatin and honey.
Essential tools include a food processor, saucepan, and thermometer. You’ll also need silicone molds and a wire rack.
How does sugar concentration and temperature control affect the texture of sour candy?
Sugar concentration is key for the right candy texture. Aim for an 80% sugar solution at 230°F. This ensures proper set.
Temperature control is vital. It affects sugar concentration and texture. Pectin and gelatin work together to create the perfect gel and elasticity.
What are the steps for making sour gummy bears at home?
Start by pureeing fruit until smooth. Then, mix the puree with water, lemon juice, and sweetener in a saucepan.
Slowly add gelatin or pectin while heating. Strain the mixture to remove lumps. Pour into molds and chill for 6 hours.
To add a sour coating, mix sugar with citric acid. Toss the gummies in this mixture to coat.
How can I make citrus-based sour candies at home?
Use organic citrus fruits like grapefruits, lemons, and oranges. Scrape out the flesh and cut peels into shapes.
Boil the peels three times to remove bitterness. Cook them in sugar syrup until candied. Coat with a sugar and citric acid mixture for sourness.
What is the role of citric acid in sour candy making?
Citric acid is found in citrus fruits and used in sour candy. Mix it with sugar for a sour coating. Start with 1-3 teaspoons of citric acid per 1/2 cup of sugar.
Adjust to taste. Toss gummies or candied citrus peels in the mixture for a sour finish.
How do I troubleshoot common issues with homemade sour candy?
Make sure your thermometer is accurate by testing it in boiling water. For softer gummies, cook at a lower temperature (223-226°F).
Avoid reducing sugar, as it affects setting. If gummies are too soft, cook at a slightly higher temperature next time. For citrus candies, avoid overcooking to prevent discoloration.
How do I properly store homemade sour candy?
Store homemade gummies in an airtight container in the fridge for up to a few weeks. For sour-coated gummies, keep them at room temperature to prevent the coating from becoming slimy.
Citrus peel candies can be stored for about a month in a sealed container. Re-coat with sugar and citric acid mixture before eating if desired.
