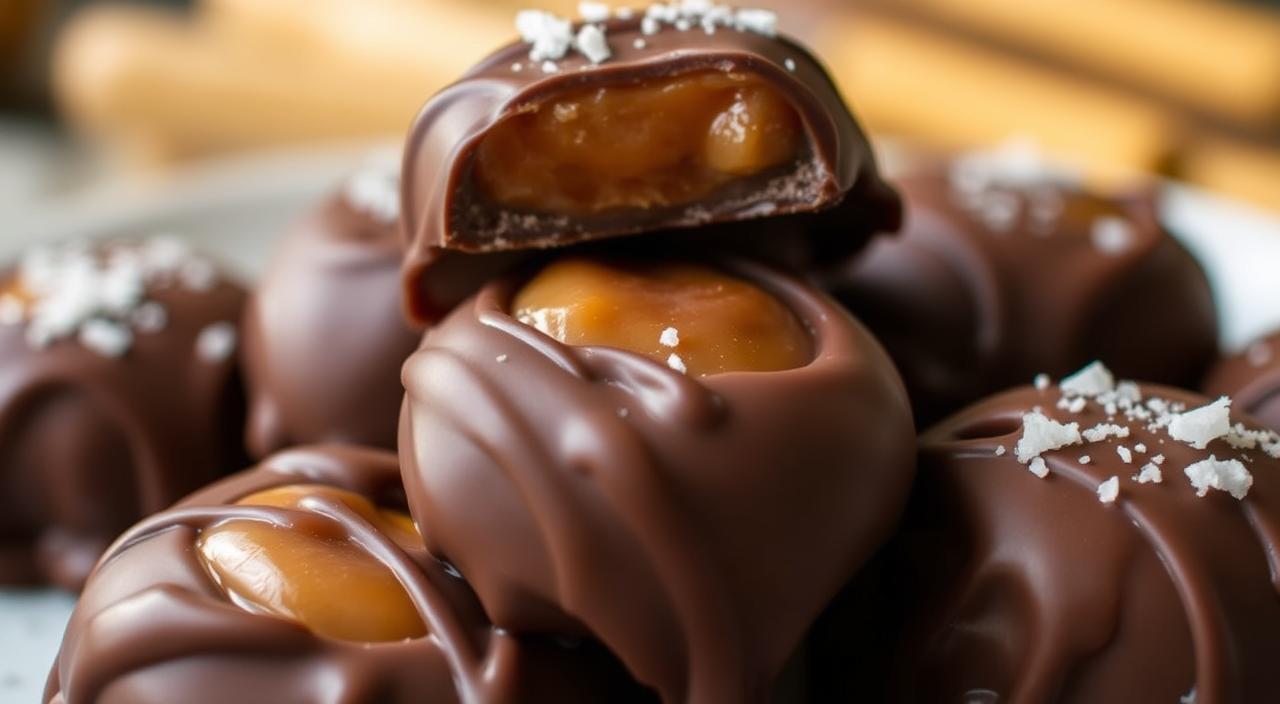
I love chocolate, and even more, I love caramel. Together, they make a treat that’s both rich and sweet. I’m excited to share my favorite homemade caramel chocolate recipe with you. It’s sure to make you happy and impress your friends and family.
Making this recipe is a fun challenge. It requires making caramel and tempering chocolate just right. The result is a sweet treat that’s as good as any store-bought one. It’s perfect for enjoying yourself or giving as a special gift.
Understanding the Art of Caramel Chocolate Making

The art of making premium chocolates and hand-crafted sweets has a long history. It started with the Olmecs in Mexico around 1500 BC. Since then, European and American confectioners have mixed chocolate with caramel, creating a favorite treat.
Why Homemade Beats Store-Bought
Homemade caramel chocolate is better than store-bought. You can pick the best ingredients and flavors. Plus, you can make it fresh and improve your cooking skills.
Making caramel is a challenge. It requires careful control over heat and timing. Home cooks enjoy this precise process.
Essential Equipment for Success
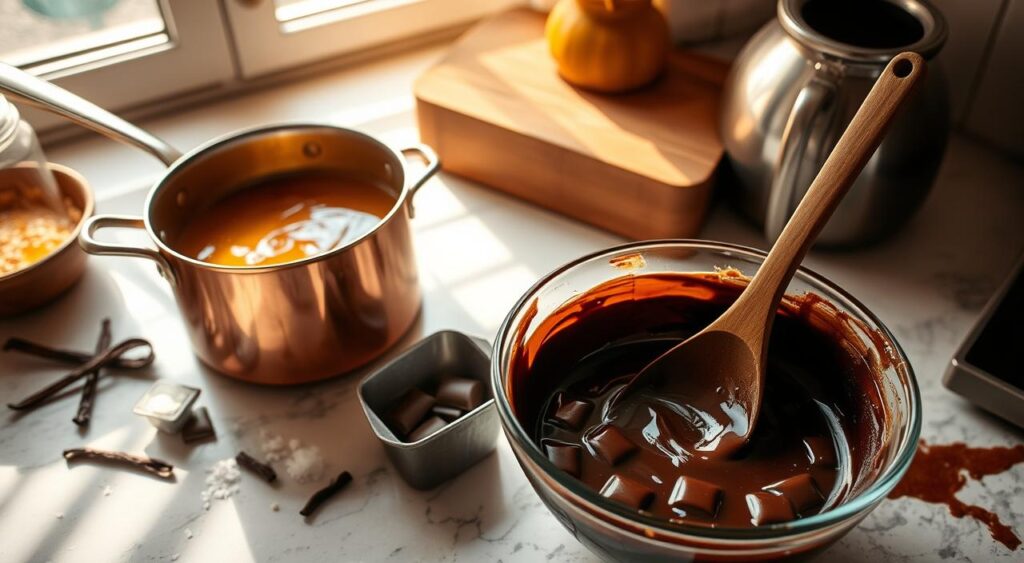
To start making caramel chocolate, you need some key tools. A heavy saucepan is important for even heat. A long spoon or spatula and a whisk help control the caramel.
A heatproof trivet or board is also crucial. It keeps you safe when handling hot caramel.
“Crafting the perfect flavored caramel involves a careful process of constantly testing and adjusting to achieve harmonious flavors and a silky texture.”
Essential Ingredients for Perfect Caramel Chocolate

Making the perfect homemade caramel chocolate needs top-notch ingredients. These ingredients come together to create a rich and decadent taste. A few key components are crucial for success.
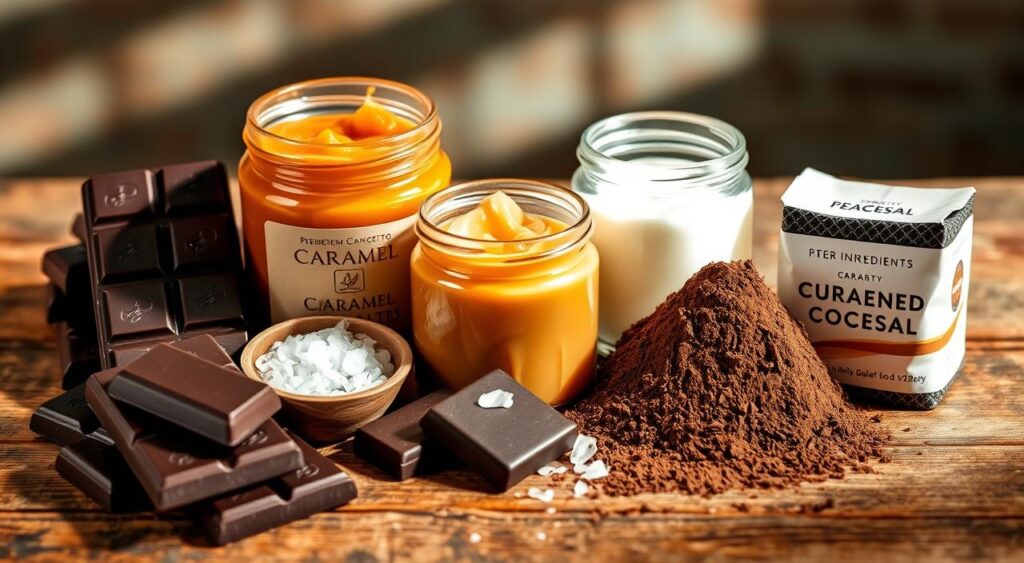
You’ll need high-quality caster or granulated sugar for the perfect caramel. Corn syrup or liquid glucose adds depth and prevents crystals. Premium chocolate, whether dark or milk, is the base for the chocolate layer.
Creamy cream is key for the right texture and feel. A sprinkle of flaky sea salt or kosher salt boosts the flavor. A bit of vanilla extract can also enhance the rich flavors.
“The key to creating decadent homemade caramel chocolate is using the highest-quality, premium ingredients available.”
By choosing these essential ingredients and following the right steps, you can make a truly indulgent treat. This decadent dessert will surely delight your senses. Let’s explore the step-by-step process to make this rich treat come to life.
Kitchen Tools and Equipment Needed
To make delicious homemade caramel chocolate, you need the right tools. Make sure you have these essential items to get perfect results every time:
Temperature Control Essentials
Getting the temperature just right is key for caramel making. A candy thermometer (around $13.79 per item, with bulk discounts available) is a must. It helps you keep an eye on the sugar syrup’s temperature. Also, a heavy-based saucepan ensures even heat, which is vital for the perfect caramel texture.
Mixing and Melting Tools
You’ll need a long-handled wooden spoon or heatproof spatula for stirring the caramel. A whisk is also necessary for blending in the cream and butter. A pastry brush is handy for brushing down the sides of the pan to prevent crystallization.
Storage Containers
After making your caramel chocolate, you’ll want to store it right. Glass jars or airtight containers are best for keeping it fresh. And remember, a microwave-safe jug is useful for warming the cream when needed.
Having all your kitchen tools and equipment ready before you start is crucial. With the right tools, you’ll be making delicious artisanal confections in no time.
Safety Precautions When Working with Hot Caramel
Making caramel chocolate at home needs careful attention, especially with hot caramel. Caramel can burn badly, so be very careful. Always use long-handled tools and oven mitts to protect your hands and arms.
When adding cream or other ingredients, be ready for splatters. Keep a bowl of ice water nearby for burns. Also, make sure the area is well-ventilated because caramel makes steam. Never leave the stove alone while caramel is cooking, as it can burn quickly.
After the caramel is the right color and consistency, let it cool completely. Don’t rush this step to avoid burns and a messy area. By following these safety tips, you can enjoy homemade caramel chocolate safely.
“When making caramel, safety should always come first. Take the time to prepare your workspace and use the proper equipment to avoid any accidents.”
Success and safety in caramel chocolate making come from patience and attention to detail. With these steps, you can enjoy homemade premium chocolatiers safely.
Step-by-Step Caramel Making Process
Making homemade caramel is an art that needs patience and care. Start by warming the cream in the microwave a bit. Then, mix sugar, water, and corn syrup in a saucepan over medium heat. Let it boil until it turns deep amber, about 170°C/338°F.
Proper Sugar Melting Technique
Take the saucepan off the heat and add the warm cream slowly. Watch out, as it will bubble a lot. Put the pan back on the heat and boil until it hits 115°C/240°F or for a few minutes. Stir in a bit of salt, then move the caramel to a safe container. Let it cool for 15-20 minutes before adding the chocolate.
Adding Cream and Butter
Slowly mix in the melted chocolate, stirring until it’s smooth and rich flavors are mixed well. This step is all about keeping the right temperature for the perfect texture.
Temperature Monitoring Tips
Keeping the right temperature is key in caramel making. Use a candy thermometer to track the temperature. This ensures the caramel is caramelized just right, without burning.
Creating the Perfect Chocolate Base
To make your homemade caramel chocolate even better, start with a great chocolate base. Premium chocolatiers focus on the chocolate’s quality. They know that the chocolate you choose greatly affects the taste.
For caramel chocolate, pick chocolate you love. Dark chocolate gives a deep, rich taste that pairs well with caramel. Milk chocolate, on the other hand, lets the caramel’s sweetness shine.
Chop the chocolate into small pieces before mixing it with the caramel. This helps it melt evenly. Stir until the chocolate is fully melted and the mix is smooth. If it’s too thick, you can heat it a bit or use a mixer.
“The key to creating the perfect chocolate base for your caramel confections lies in the quality and preparation of the chocolate itself.”
By choosing and preparing the chocolate well, you’ll make delicious chocolate caramels. They’ll taste amazing and impress anyone.
Combining Caramel and Chocolate for Ultimate Indulgence
Mixing caramel and chocolate creates a culinary masterpiece. To get it right, you need to temper and layer carefully. This way, you unlock a world of rich flavors and textures.
Proper Tempering Methods
Let the caramel cool a bit before adding chocolate. This prevents burning. Stir well until the chocolate is fully mixed in. This makes the chocolate set right and improves the dessert’s feel.
Layering Techniques
For layered desserts, let each layer set a bit before adding the next. This keeps the layers separate. When drizzling on cakes, use the sauce when it’s just right. This creates a beautiful, tempting effect.
Mastering tempering and layering opens up a world of delicious sweets. These treats will amaze your taste buds and impress everyone who tries them.
Troubleshooting Common Issues
Making artisanal confections and hand-crafted delicacies is a joy. But, even skilled chefs face problems sometimes. Don’t worry, with some troubleshooting tips, you can fix common issues and get perfect results.
If your caramel seems grainy, add a bit of corn syrup. This stops crystals from forming. If the caramel is too thin, cook it a bit longer. For a thicker sauce, a little cream can help.
“The key to making flawless caramel and chocolate is patience and attention to detail. With a little practice, you’ll be whipping up professional-grade artisanal confections in no time.”
Lumpy chocolate can be a problem, but heating it gently and stirring well can fix it. If caramel burns, you’ll need to start over. But, the more you try, the better you’ll get at avoiding mistakes.
With some troubleshooting skills and a love for making things perfect, you’ll soon be creating amazing artisanal confections. Face challenges, learn from mistakes, and enjoy the process of mastering caramel and chocolate.
Creative Variations and Flavor Additions
Take your homemade caramel chocolate to the next level. Discover a world of rich, velvety caramel sauce with exciting additions. These will make your taste buds dance with joy.
Nuts and Toppings Options
Add a crunch by sprinkling chopped nuts like pecans, walnuts, or hazelnuts. Or, try a dusting of sea salt flakes for a sophisticated touch. A drizzle of bourbon or rum adds a special kick.
Flavor Enhancement Ideas
Try adding a bit of espresso powder for a mocha twist. Or, use the zest of fresh oranges for a citrusy flavor. Use different chocolates, like white chocolate or infused ones, to make your desserts truly unique.
Get creative with your caramel chocolate. Use it as a filling for homemade chocolates or truffles. It’s also great as a topping for cheesecakes, brownies, and more. The sky’s the limit when you’re making your own treats.
Storage Tips and Shelf Life
Keeping your homemade caramel chocolates fresh is crucial. Store them in airtight glass jars or containers. This way, they’ll stay delicious for months in the fridge.
To enjoy your treats, warm the caramel gently. You can microwave it in short bursts or heat it in a saucepan. For longer storage, freeze the caramel for up to 3 months. Thaw it in the fridge before using.
Keep your chocolates at 65 to 70°F. Store them away from sunlight and moisture. Bar chocolate is the most durable, handling temperature changes well. Don’t store them in the fridge or freezer to avoid condensation.
“Handmade, premium gourmet chocolates and truffles last around 2 to 3 weeks at room temperature and can stay fresh for 2 to 3 months in the fridge or 6 months in the freezer.”
With the right storage, your caramel chocolates will stay tasty for months. Enjoy them yourself or share them with loved ones.
Gifting and Packaging Ideas
Make your homemade caramel chocolate treats stand out with beautiful packaging. Pour the sauce into decorative glass jars for a stunning look. Add custom labels with the ingredients and use-by dates.
Tie the jars with festive ribbons or twine for a personal touch. This captures the essence of your artisanal confections.
Create a decadent gift basket with your caramel chocolate sauce, gourmet ice cream, and toppings. This makes a delightful present for anyone. During the holiday season, pair your caramel chocolate with homemade cookies or brownies for a complete gift set.
Use items like baby food jars, bottles, and tins to package your treats in a unique way. These containers are versatile and cost-effective. They’re perfect for gifting flavored sugars, salts, oils, syrups, and more. Treat bags and decorating bags also make great packaging options for your caramel chocolate gifts.
FAQ
What is this decadent chocolate caramel sauce recipe?
This recipe mixes rich caramel with smooth chocolate. It’s a mix of caramel sauce and chocolate ganache. It’s great for drizzling over ice cream, brownies, or other desserts. You can use dark or milk chocolate.
What are the benefits of making homemade caramel chocolate compared to store-bought?
Homemade caramel chocolate is fresher and customizable. It lets you control the ingredients and flavors. Artisanal confections have a long history, and making it at home is more personal.
What essential equipment is needed for making this recipe?
You’ll need a heavy-based saucepan, a long-handled spoon or spatula, and a whisk. A pastry brush and candy thermometer are optional. A heatproof trivet or board is key for safety.
What are the key ingredients in this caramel chocolate recipe?
The main ingredients are caster or granulated sugar, corn syrup or liquid glucose, and high-quality chocolate. You’ll also need cream, salt, and optional vanilla extract.
What temperature control essentials are important for successful caramel making?
A candy thermometer and a heavy-based pan are crucial. You’ll also need a long-handled spoon or spatula, whisk, and pastry brush for mixing and melting.
What safety precautions should be taken when working with hot caramel?
Caramel can burn badly, so be careful. Use long-handled utensils and oven mitts. Be ready for splatters when adding cream. Keep ice water nearby and ensure good ventilation. Never leave the stove unattended.
How do you make the caramel base for this recipe?
Warm the cream in the microwave first. Then, mix sugar, water, and corn syrup in a saucepan over medium heat. Bring to a boil and cook until it’s deep amber. Remove from heat, add warm cream carefully, and return to heat. Boil until it reaches the right temperature.
What type of chocolate works best for this recipe?
Choose high-quality chocolate for the best taste. Dark chocolate gives a stronger chocolate flavor. Milk chocolate lets the caramel shine. Chop the chocolate into small pieces for even melting.
How do you properly temper the caramel and chocolate for the perfect texture?
Cool the caramel slightly before adding chocolate to avoid scorching. Stir constantly until the chocolate is fully incorporated and the mixture is smooth. For layered desserts, let each layer set a bit before adding the next.
How do you troubleshoot common issues that may arise?
If caramel crystallizes, brush the pan sides with water and avoid stirring. For a grainy texture, add a small amount of corn syrup. If the sauce is too thin, cook it longer. If too thick, add a little cream. For lumpy chocolate, gently reheat and stir or use an immersion blender.
What are some creative variations and flavor additions to try?
Add chopped nuts, sea salt flakes, or a splash of bourbon or rum to enhance the sauce. Try adding espresso powder for a mocha twist or orange zest for a citrus note. Experiment with different chocolate types like white chocolate or flavored chocolates.
How should the caramel chocolate sauce be stored?
Store the cooled sauce in airtight glass jars or containers. It keeps in the fridge for several months. To reheat, microwave in short bursts or warm gently in a saucepan over low heat. You can also freeze it for up to 3 months.
How can the caramel chocolate sauce be packaged and gifted?
Pour the sauce into decorative glass jars for a nice presentation. Add custom labels with ingredients and use-by dates. Tie with ribbons or twine for a festive look. Create gift baskets with the sauce, gourmet ice cream, and toppings. Or pair it with homemade cookies or brownies for a complete dessert gift set.
