Have you ever bitten into a warm pita bread and found it too dense? I grew up loving the real taste of Mediterranean food. Homemade pitas bread is a game-changer, with its soft, airy texture.
In this article, I’ll teach you how to make perfect pitas at home. You’ll need just a few ingredients and simple steps. Enjoy the amazing smell and taste of homemade pita bread. It’s perfect for Mediterranean dishes or just a tasty flatbread.
Baking pitas at home lets you choose the best ingredients. Imagine serving warm pitas with your favorite dips or gyros. The joy of opening a pita pocket is unmatched. Get ready to make homemade pitas and take your cooking to the next level.
Understanding the Magic of Homemade Pita Bread

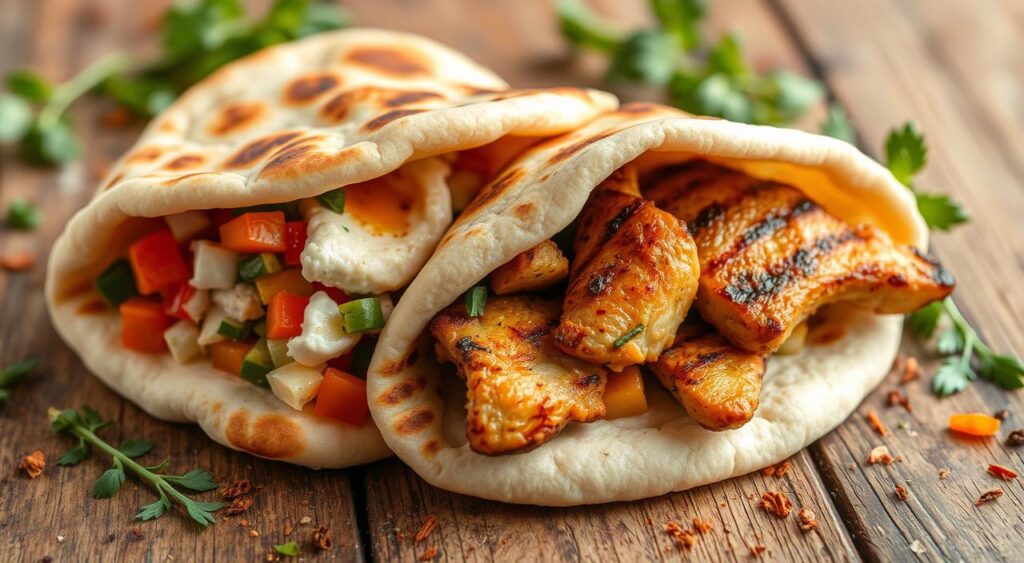
Pita bread is a favorite in the Middle East for its special pocket. This pocket forms when steam builds up during baking. It makes the dough puff up, creating a unique cavity.
Learning about this process can help you make perfect homemade pitas.
What Makes Pita Different from Other Flatbreads
Pitas are special because of their pocket. This pocket forms when the dough puffs up in the oven. It’s like a balloon inside.
This feature makes pitas great for stuffing with various fillings. They’re perfect for sandwiches, wraps, and dips.
The Science Behind the Perfect Pocket
The pocket in pita bread comes from science. When dough is baked at high heat, the outside gets tough and crusty. But the inside stays soft and moist.
The steam trapped inside builds pressure. This pressure makes the dough puff up, creating the pocket.
Benefits of Making Pitas at Home
Making pita bread at home has many benefits. Homemade pitas taste fresher because you control the ingredients. You can also customize them by trying different flours or seasonings.
Plus, making pitas at home is cheaper than buying them. It’s a fun and rewarding project for families and beginners.
Essential Ingredients for Traditional Pitas

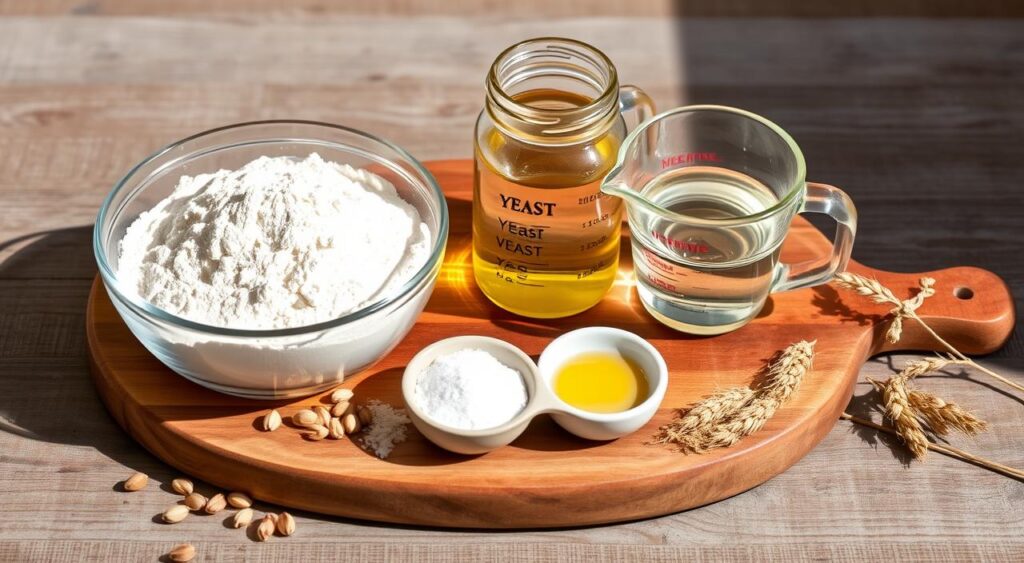
Making the perfect homemade pita bread begins with knowing the key ingredients. Traditional recipes mix whole wheat flour, all-purpose flour, active dry yeast, sugar, salt, warm water, and a bit of extra virgin olive oil.
Combining whole wheat and all-purpose flours gives the pita a nutty taste and soft texture. Adding about 20% whole wheat flour brings a rich, earthy flavor. Yet, it keeps the pita’s signature pocket structure. It’s important to activate the yeast in lukewarm water (105°F/41°C) for the dough to rise right, creating those fluffy pockets.
“The recipe for authentic Middle Eastern pita bread has been rated 4.92 out of 5 by 12 reviewers.”
Choosing the right pita bread ingredients is crucial for baking tasty homemade pitas. With the correct mix of flours, yeast, and liquids, you’ll soon become a pita-making pro.
Tools and Equipment You’ll Need
Baking pita bread at home is easy. You don’t need a lot of special tools. But, the right equipment can really help. Let’s look at the must-have tools and some nice-to-have accessories for making pita bread.
Must-Have Baking Tools
You’ll need a big mixing bowl, a wooden spoon, and a rolling pin. A baking sheet or pizza stone is key for a perfect crust. A digital kitchen scale helps with exact measurements.
Optional Equipment for Better Results
A stand mixer with a dough hook makes kneading easier. A cast iron skillet or pizza stone bakes well because they keep heat. Parchment paper helps move dough without sticking.
Surface Options for Baking
There are a few ways to bake. A baking sheet works, but a pizza stone or baking steel is better. They help make pita bread puffed and crispy.
With the right baking tools, making homemade pita bread is easy. You can choose the basics or add some extras. The most important thing is to have the right tools for great results every time.
Mastering the Perfect Pita Dough
Making the perfect pita dough recipe is key to baking delicious homemade pitas. The secret is in the kneading techniques and the important dough rising step. Follow these steps to make fluffy, pocketed pitas.
Start by mixing dry ingredients like flour, yeast, salt, and seasonings. Add water and oil slowly, kneading until it’s soft and stretchy. Knead by hand for 10 minutes or use a stand mixer for 8 minutes. You want the dough to feel slightly tacky.
Next, let the dough rise in a warm spot for 1.5 hours or until it doubles. This step lets yeast work its magic, making the pita puff. Don’t skip or rush this step – patience is crucial for perfect pitas.
“The key to light, fluffy pitas is all in the kneading and rising. Take your time, and you’ll be rewarded with pillowy pockets of deliciousness!”
With the pita dough recipe mastered and kneading techniques perfected, you’re on your way to becoming a homemade pita pro. Embrace the art of dough rising. Your kitchen will soon be filled with the aroma of freshly baked pitas, ready to be enjoyed in many ways.
The Art of Shaping and Rolling Pitas
Making perfect pita bread at home is a skill that combines dough mastery with shaping and rolling techniques. To get those signature pockets, focus on how you handle and shape the dough.
Proper Rolling Techniques
Begin by dividing your pita dough into equal parts and shape them into smooth balls. Let the dough rest for a few minutes before rolling it out. Use a rolling pin to roll each ball into a 6-inch circle, keeping the dough under 1/4 inch thick.
Avoid overworking the dough or making any tears. This can stop the dough from puffing up right during baking.
Common Shaping Mistakes to Avoid
One big mistake in pita shaping is overworking the dough. This makes the pita tough and chewy, and it won’t puff up right. Also, uneven dough thickness can cause some pitas to puff more than others.
Achieving the Ideal Thickness
It’s key to keep the dough thickness even for consistent puffing and pocket formation. Aim for a 1/4 inch thickness when rolling out the pitas. This lets the dough expand and create the signature pocket during baking.
After shaping, let the pitas rest for about 15 minutes. This lets the gluten relax before baking.
Baking Methods and Temperature Tips
Making perfect pita bread at home is all about the baking process. You can use the oven or stovetop. The key is to keep the right temperature for the best puff and texture.
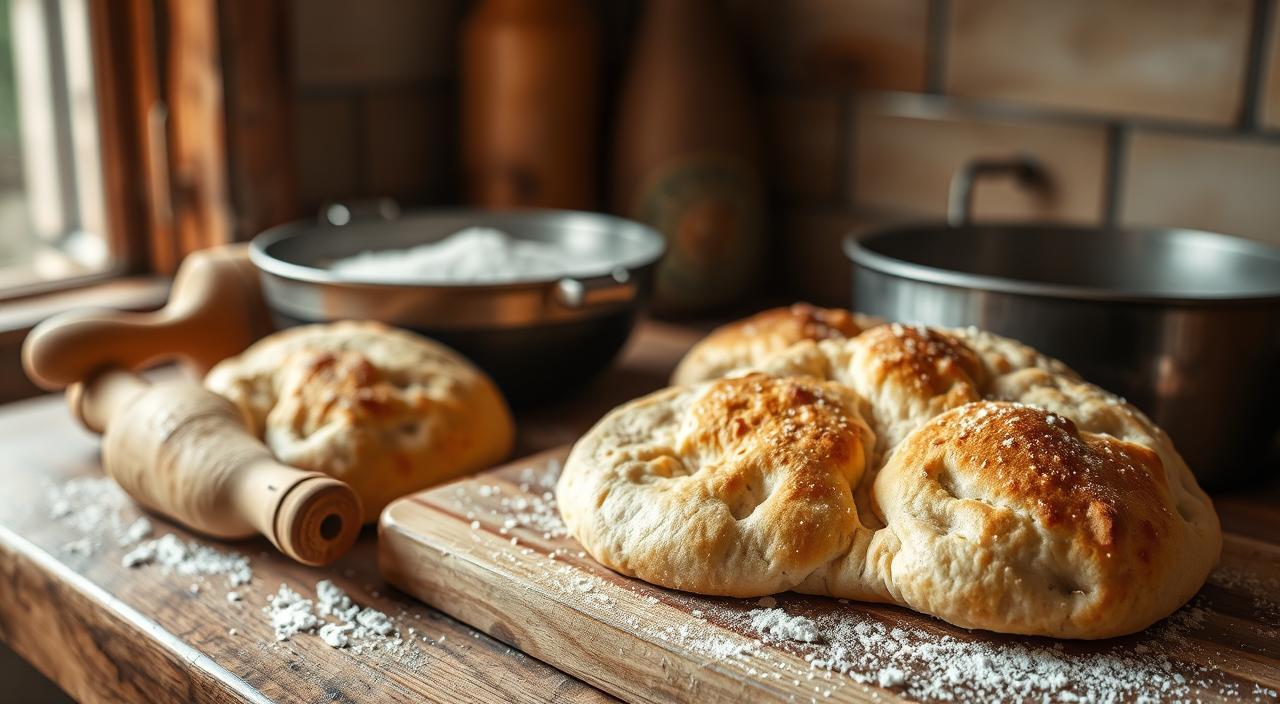
For oven-baked pitas, heat your oven to 475°F-550°F. Place a baking stone or steel inside. This high heat is key for the puffed pockets. Bake for 2-3 minutes, until they’re lightly golden and puffed up.
On the stovetop, use a preheated cast-iron skillet. The high heat sears the pitas, making them puff up. Flip them often to cook evenly and get those pockets.
Choose your pita baking techniques wisely. Don’t overbake, as it makes pitas dry and hard. Watch them closely, removing from the oven temperature or stovetop cooking when done.
“The secret to perfect pitas is all in the baking. High heat is the key to achieving those airy, puffed-up pockets.”
Mastering pita baking lets you enjoy fresh, perfectly puffed pitas at home. Try different oven temperature and stovetop cooking methods. Find what works best for your kitchen and taste.
Storage and Reheating Solutions
Keeping your homemade pita bread fresh is key to enjoying it fully. The right storage and reheating methods can make your pitas last for days. Here’s how to keep them in perfect condition.
Proper Storage Techniques
To keep your pita bread fresh, store them in an airtight container or resealable bag at room temperature. This keeps them soft and pliable for up to 3 days. For longer storage, freeze them. Wrap each pita in wax paper before freezing in a bag or container. This way, your pitas can stay fresh for up to 3 months.
Freezing and Thawing Methods
Ready to enjoy your frozen pitas? There are a few easy ways to thaw and reheat them. To use the oven, preheat to 350°F (175°C) and heat the bread for 10-12 minutes. For a quicker option, try the air fryer at 350°F (175°C) for 2-3 minutes. The microwave is also convenient, reheating on high for 20-30 seconds, adjusting for thicker pitas.
Regardless of the method, your pitas will be warm, soft, and ready for use. Enjoy the homemade taste of your stored pita bread, frozen pitas, and reheated pitas with these easy tips.
Creative Ways to Serve Your Pitas
Pita bread is a staple in Mediterranean and Middle Eastern cuisines. It offers endless culinary possibilities beyond sandwiches. Get creative with your homemade pitas and explore new ways to serve them.
Turn pitas into personal pizzas with your favorite toppings. Bake them in the oven for a quick meal. Stuff them with pita fillings like falafel, shawarma, or gyros for a tasty snack.
Pitas are great for Mediterranean dishes. Serve them with dips like hummus, tzatziki, or baba ganoush. Cut leftover pitas into wedges, toss with olive oil and seasonings, then bake until crispy.
“Pitas are the blank canvas for endless culinary creativity. From personal pizzas to Mediterranean-inspired nachos, the possibilities are truly endless.”
Be creative with pita-based dishes. Try pita bowls with fresh salads or use them as nachos. Pit’s neutral flavor lets you experiment with many flavors and cuisines.
Unleash your inner chef with homemade pitas. Whether it’s a quick snack or a full meal, these versatile breads will impress everyone. They offer delicious and unique ways to enjoy your food.
Conclusion
Making pitas at home is a game-changer. They taste better, feel softer, and are fresher than store-bought ones. With just a few simple ingredients and some basic steps, you can make authentic pitas. These are perfect for many Mediterranean cooking dishes.
Try different flours and fillings to make your pitas unique. This way, you can make your home cooking even better.
The perks of homemade pita are huge. You get to pick what goes into it and enjoy making it from scratch. By using the tips from this guide, you’ll soon be a pro at making pita. You’ll love the taste and feel of freshly baked ones.
Start enjoying Mediterranean food more by making your own pita. Impress everyone with your homemade pita creations. Use them with hummus, fill them with your favorite stuff, or make tasty sandwiches. The options are endless.
Get ready to explore the amazing world of homemade pita bread. It will take your cooking to a whole new level.
FAQ
What makes pita bread different from other flatbreads?
Pita bread is special because it puffs up during baking. This happens when steam forms inside the dough. This pocket makes it great for filling and dipping.
What are the benefits of making pitas at home?
Making pitas at home is fresh and customizable. It’s also cheaper than buying them. You can pick the ingredients and ensure they’re always fresh.
What are the essential ingredients for traditional pita bread?
You’ll need all-purpose flour, whole wheat flour, yeast, sugar, salt, warm water, and olive oil. Adding 20% whole wheat flour gives it a nutty taste without losing its structure.
What tools and equipment are needed for baking pitas?
You’ll need a big bowl, spoon, rolling pin, and baking sheet or stone. A digital scale is key for accurate measurements. A stand mixer can make things easier. A pizza stone or cast iron skillet helps with puffing.
How do you properly knead and proof the pita dough?
Knead the dough for 10 minutes by hand or 8 minutes with a mixer. It should be soft and stretchy. Let it rise in a warm place for 1.5 hours until it doubles. This is important for the pita’s puff.
What are the best techniques for shaping and rolling pitas?
Divide the dough into equal parts and shape into balls. Let them rest before rolling into 6-inch circles, about 1/4 inch thick. Don’t overwork the dough. Even thickness is key for puffing. Let the shaped pitas rest for 15 minutes before baking.
What are the key tips for baking pitas?
Preheat your oven to 475°F-550°F with a stone or steel inside. Bake for 2-3 minutes until puffed and golden. You can also use a cast iron skillet on the stovetop. High heat is essential for puffing. Avoid overbaking to keep them soft.
How can you store and reheat homemade pitas?
Store fresh pitas in an airtight container or bag at room temperature for up to 3 days. Freeze for up to 3 months. Separate with wax paper for easy thawing. Thaw at room temperature or reheat in the oven. Wrap in a towel to keep them soft.
What are some creative ways to use homemade pitas?
Use pitas for falafel, shawarma, or gyros. Serve with dips like hummus or tzatziki. Make pita pizzas or fill with salads. Turn leftover pitas into chips by cutting into wedges and baking. Use as a base for Mediterranean nachos or for dips and spreads.
