As a seasoned home cook, I love making restaurant-quality meals at home. The escalopes, a thin, crispy slice of meat, is a favorite of mine. It’s perfect for a quick weeknight dinner or when you’re hosting guests.
In this guide, I’ll share my secrets for tender, flavorful escalopes. Your family and friends will ask for seconds, I promise. We’ll cover everything from choosing the right meat to breading techniques. This way, your escalopes will always be crispy outside and juicy inside.
Understanding Escalopes: A Classic Culinary Delight

Escalopes are a favorite dish in many cuisines. They are known for their tender meat and crispy texture. These thin cuts of meat, often from veal, pork, chicken, or turkey, are loved by food lovers everywhere.
Different Types of Meat for Escalopes
Veal escalopes and pork escalopes are traditional favorites. But, you can also try chicken or turkey escalopes. Chicken escalopes are popular in Europe, Asia, and the Americas. Turkey escalopes add a special flavor and are a bit healthier.
What Makes a Perfect Escalope
A perfect escalope is about 1/4 inch thick. This thinness ensures it cooks evenly. It becomes crispy on the outside and juicy inside. The breading should stick well, adding a nice crunch.
The aim is to balance the meat’s flavor with the seasonings or marinades. This makes the escalope preparation truly special.
“A well-executed escalope is a culinary masterpiece, where the sum of its parts creates a truly memorable dining experience.”
Essential Ingredients for Making Restaurant-Quality Escalopes

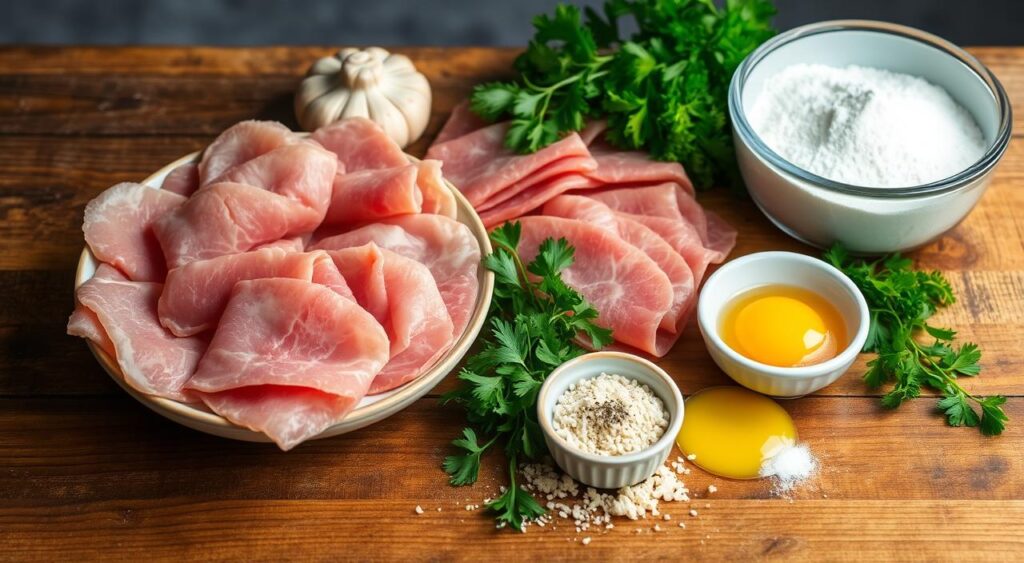
To make perfect escalopes at home, you need a few key ingredients. Start with thin slices of high-quality meat, like chicken breasts or veal cutlets. Dredging the meat in flour creates a tasty crust when pan-frying.
For binding, use beaten eggs to help the breadcrumbs stick. Choose panko breadcrumbs and freshly grated Parmesan cheese for a light, crispy coating.
Season the escalope ingredients with salt, pepper, paprika, garlic powder, and dried herbs like thyme or oregano. Fresh lemon wedges are also key. A squeeze of lemon juice adds brightness and cuts through the richness.
“The secret to mouthwatering escalopes is in the balance of flavors and textures. With the right combination of tender meat, crunchy coating, and lively seasonings, you can achieve restaurant-quality results in your own kitchen.”
By using quality ingredients and preparing your escalopes well, you’ll make a remarkable dish. The panko breadcrumbs and Parmesan cheese are crucial for that golden-brown crust.
Kitchen Tools and Equipment Needed
To make perfect escalopes at home, you need the right tools. We’ll look at both essential and optional items. These will help you get restaurant-quality results.
Must-Have Utensils
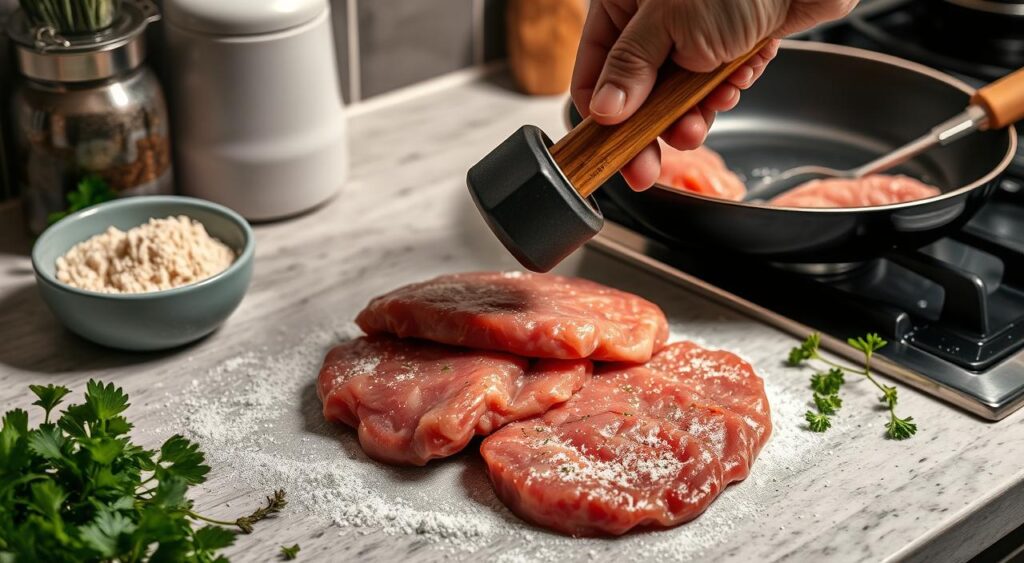
You’ll need a meat mallet or rolling pin to pound the meat. Shallow dishes are key for breading. And a large non-stick skillet is vital for frying the escalopes.
Optional but Helpful Equipment
Some tools are not necessary but can be very helpful. A sharp knife is good for cutting the meat. A food processor makes quick work of breadcrumbs. Kitchen tongs help with handling the meat. And a meat thermometer ensures the escalopes are cooked just right.
With these tools, you’ll be on your way to making delicious escalopes at home.
Preparing Your Meat for the Perfect Escalope
To make delicious escalopes, start with the right meat prep. First, remove any extra fat or connective tissue from the chicken breasts. Then, cut each breast in half horizontally to get two thin pieces.
Place the meat between plastic wrap or in a zip-top bag. Use a meat mallet or rolling pin to pound it until it’s about 1/4 inch thick. This makes the meat cook evenly and stay tender.
After flattening the chicken, sprinkle it with salt and pepper. This basic seasoning helps the flavors soak into the pounded chicken. It makes the tenderizing meat taste amazing. Now, your thin escalopes are ready for breading and frying.
“The key to a truly outstanding escalope is in the preparation of the meat. Pounding the chicken breasts to an even thickness ensures each bite is as tender and juicy as the last.”
The Art of Breading Escalopes
Getting the perfect crispy coating on your homemade escalopes is an art. It needs a bit of technique. The traditional three-step breading method is key. It makes sure your escalopes have a breading technique that rivals top restaurants.
The Three-Step Breading Process
Begin by dredging your escalopes in a light flour coating. This helps the crispy coating stick to the meat. Then, dip them in beaten eggs, letting any extra drip off.
Finally, coat the escalopes in seasoned breadcrumbs. Press them gently to help the breading stick.
“The secret to a truly exceptional escalope is in the breading. Each step must be executed with care for the perfect crispy exterior.”
Make sure to shake off any extra flour or egg before moving on. This prevents a gummy or uneven three-step breading finish. When coating with breadcrumbs, press them firmly onto the meat for maximum adhesion.
Mastering this classic breading technique will give you golden-brown, crunchy escalopes. With a bit of practice, you’ll be making restaurant-quality escalopes in your own kitchen.
Mastering the Pan-Frying Technique
Learning to pan-fry escalopes at home is an art. With the right technique, you can make dishes as tasty as those in restaurants. The secret is in controlling the temperature and handling the pan-frying process well.
Start by heating a large, heavy-bottomed skillet over medium-high heat. Use enough high-heat cooking oil, like peanut or vegetable oil, to lightly cover the pan’s bottom. The oil should shimmer and be hot enough to make the escalope sizzle right away.
Place the prepared escalopes in the hot oil carefully. Make sure they don’t fill the pan too much. Overcrowding can make the cooking temperature drop, leading to greasy, unevenly cooked escalopes. Cook for 3-4 minutes on each side, until the crust is golden-brown and the inside is 165°F (74°C) for chicken.
After cooking, put the escalopes on a paper towel-lined plate. This helps soak up excess oil. It makes your pan-fried escalopes crispy without being heavy or oily.
“The secret to a perfect pan-fried escalope is in the temperature control and gentle handling of the meat.”
Mastering pan-frying escalopes can take your home-cooked meals to new levels. With practice, you’ll make dishes that impress everyone. You’ll be making restaurant-quality escalopes in no time.
Classic Escalope Seasonings and Marinades
Improving your homemade escalopes starts with the right seasoning and marinade. A basic mix of salt, black pepper, and paprika is a good start. But, there are many ways to make your dish more flavorful.
Traditional Spice Combinations
For a classic taste, mix your escalope pieces with garlic powder, onion powder, thyme, and oregano before breading. This blend is perfect for tender meat. Adding a bit of escalope seasoning can also enhance the flavor.
Modern Flavor Variations
Want to try something new? Marinate your escalopes in a tangy herb marinade with lemon juice, olive oil, and fresh herbs like rosemary or sage. This marinade tenderizes the meat and adds fresh, herbaceous flavors. Or, try adding grated Parmesan cheese and lemon zest to your breading for a zesty twist.
Feel free to mix and match different spice blends to create your own unique escalope seasoning. The world of flavors is vast, and you can make your escalopes truly special at home.
Perfect Side Dishes to Serve with Escalopes
Escalopes are tender cuts of meat that deserve great sides. Whether you’re making veal, chicken, or pork escalopes, the right sides can make the meal better.
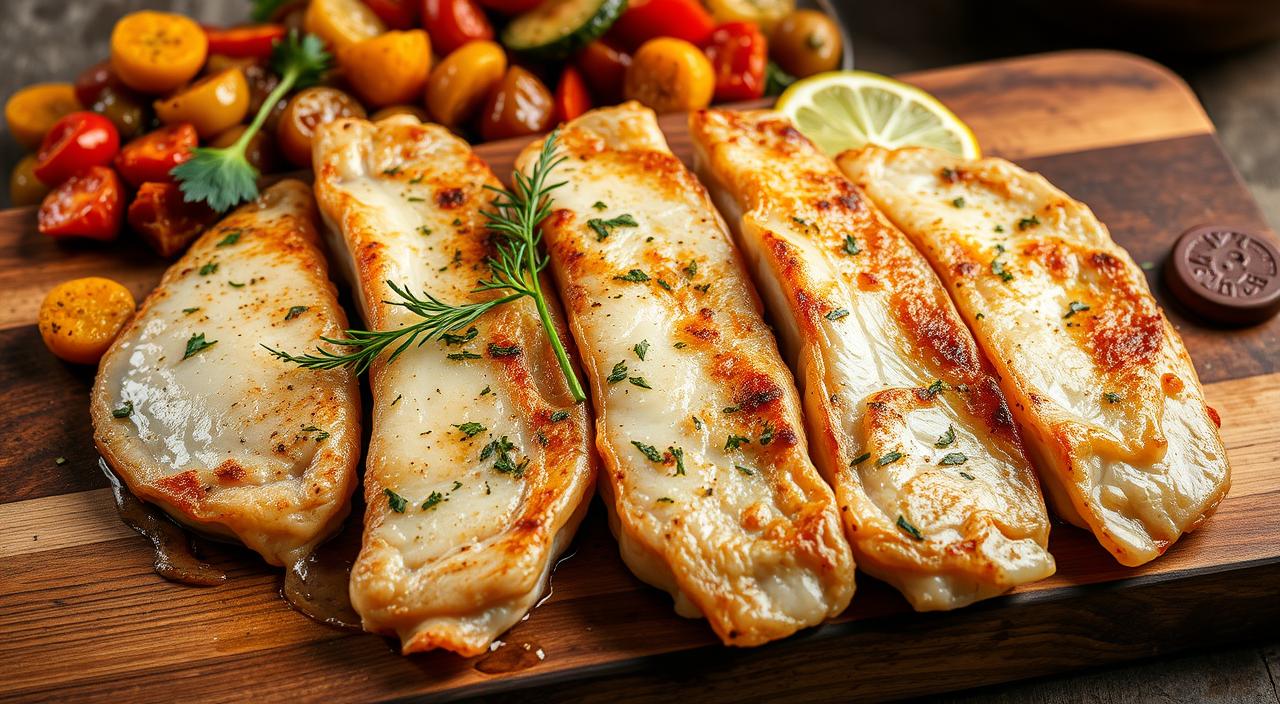
French fries or mashed potatoes are classic choices. They match the crispy breading of escalopes well. For something lighter, try a fresh arugula salad with lemon vinaigrette.
Roasted veggies like broccoli, green beans, or a mix of artichokes, eggplants, and mushrooms are also great. They add a nice contrast to the tender escalopes.
A pasta dish or rice pilaf can also be a good choice. They let the escalopes be the main focus while adding a filling base.
Remember to offer lemon wedges and garlic aioli or tangy mustard sauce. This way, your guests can make their meal just right. With these escalope sides, salad pairings, and potato dishes, your meal will be unforgettable.
Storage and Reheating Guidelines
Enjoying a delicious escalope doesn’t have to end when the meal is over. You can savor those leftover escalopes for days with the right storage and reheating. Store leftover escalopes in an airtight container in the fridge for up to 3 days.
Want to keep them longer? Try freezing breaded chicken. Place cooked or uncooked breaded escalopes on a baking sheet, freeze until solid, then put them in a freezer bag. They can last up to 3 months this way.
When reheating leftover escalopes, avoid the microwave. It can make the breading soggy. Instead, use the oven or an air fryer to keep it crispy. Reheat in a 400°F (200°C) oven for 10-12 minutes or in an air fryer at 375°F (190°C) for 4-5 minutes.
“Reheating fried chicken in the oven or air fryer is the way to go to keep that crispy, delicious texture.”
By using these reheating methods, you can enjoy your leftover escalopes just as much as the first time. A little planning and the right techniques will let you enjoy this classic dish for longer.
Troubleshooting Common Escalope Problems
Preparing perfect escalopes at home is a fun cooking adventure. But, even experienced cooks might face some problems. Let’s look at common issues and find ways to make your escalopes tender and tasty every time.
Texture Issues and Solutions
One big problem is soggy escalopes or breading falling off. To avoid this, dry your meat well before breading. Use paper towels to soak up any extra moisture. Also, press the breadcrumbs firmly onto the meat to help them stick.
Letting the breaded escalopes rest for 10 minutes before frying can also help a lot.
Cooking Temperature Tips
Getting even cooking can be tricky. But, keeping the oil temperature steady is crucial. Don’t overcrowd the pan, as it can lower the oil temperature and cause uneven browning.
If the escalopes are browning too fast, slightly lower the heat. This prevents the outside from getting too dark while the inside stays juicy. Use a meat thermometer to check the chicken’s internal temperature reaches 165°F (74°C). This helps avoid under- or overcooking.
By tackling these common problems and following these tips, you’ll soon be making restaurant-quality escalopes at home. Enjoy the tasty fruits of your labor!
Conclusion
Learning to make perfect homemade escalopes is exciting. It lets you explore many flavors and dishes. You can make crispy chicken escalopes at home with a few simple steps.
Try different meats, spices, and sides to find your favorite. Homemade escalopes are great for any meal. They can be a simple dinner or a fancy dish for guests.
With this guide, you’ll get better at cooking. You’ll enjoy making delicious meals. So, start making homemade escalopes today. It’s fun and will impress everyone.
FAQ
What are escalopes?
Escalopes are thin slices of meat, like chicken or veal. They are breaded and pan-fried until golden. This makes them crispy on the outside and juicy inside. They’re loved in Middle Eastern and European cooking.
What types of meat can be used for escalopes?
You can use chicken, veal, pork, or turkey for escalopes. The meat should be thin and pounded or cut to the right thickness.
What are the key ingredients for making perfect escalopes?
To make perfect escalopes, you need thin meat, flour, eggs, and breadcrumbs. Use panko breadcrumbs for the best crunch. Add Parmesan cheese, salt, pepper, and herbs for extra flavor.
What tools and equipment are needed for making escalopes?
You’ll need a meat mallet or rolling pin, shallow dishes for breading, and a non-stick skillet. A sharp knife is also essential. Optional tools include a food processor, kitchen tongs, and a meat thermometer.
How do you prepare the meat for making escalopes?
Start by trimming fat from the meat. For chicken, slice it horizontally to get two thin pieces. Then, pound the meat until it’s about 1/4 inch thick.
What is the traditional breading method for escalopes?
The traditional method involves three steps. First, dredge the meat in flour. Then, dip it in beaten eggs. Finally, coat it with seasoned breadcrumbs. Make sure each piece is evenly coated.
What are some common mistakes to avoid when breading escalopes?
Don’t shake off too much flour or egg, as this can make the coating gummy. Also, press the breadcrumbs firmly onto the meat to prevent them from falling off during cooking.
How do you pan-fry escalopes perfectly?
Heat oil in a skillet over medium-high heat. When the oil is hot, add the escalopes and fry for 3-4 minutes on each side. This will make them golden brown and cooked through.
What are some common seasonings and marinades used for escalopes?
Escalopes are often seasoned with salt, black pepper, and paprika. For more flavor, add garlic powder, onion powder, thyme, and oregano to the breadcrumbs. You can also marinate the meat in lemon juice, olive oil, and herbs before breading.
What are some classic side dishes to serve with escalopes?
Serve escalopes with french fries, mashed potatoes, or a green salad. Roasted vegetables, steamed broccoli, or sautéed green beans are also great choices. Pasta dishes and rice pilaf make excellent accompaniments too.
How do you store and reheat leftover escalopes?
Store leftover escalopes in an airtight container in the fridge for up to 3 days. To freeze, place them on a baking sheet, freeze, then bag them for up to 3 months. Reheat in an oven or air fryer to keep them crispy.
How can you troubleshoot common issues with escalopes?
Issues like soggy breading or falling off can be fixed. Make sure the meat is dry before breading and press the breadcrumbs firmly. Keep the oil temperature steady and don’t overcrowd the pan for even cooking.
